

Create and fill in a workshop
The workshop is the heart of Moiki EDU: an activity you prepare, then launch with a class. This page describes, screen by screen, what is common to every workshop, whatever its type. To choose the type and follow the guide step by step, see Choose your activity.
Everything happens in Workshops.
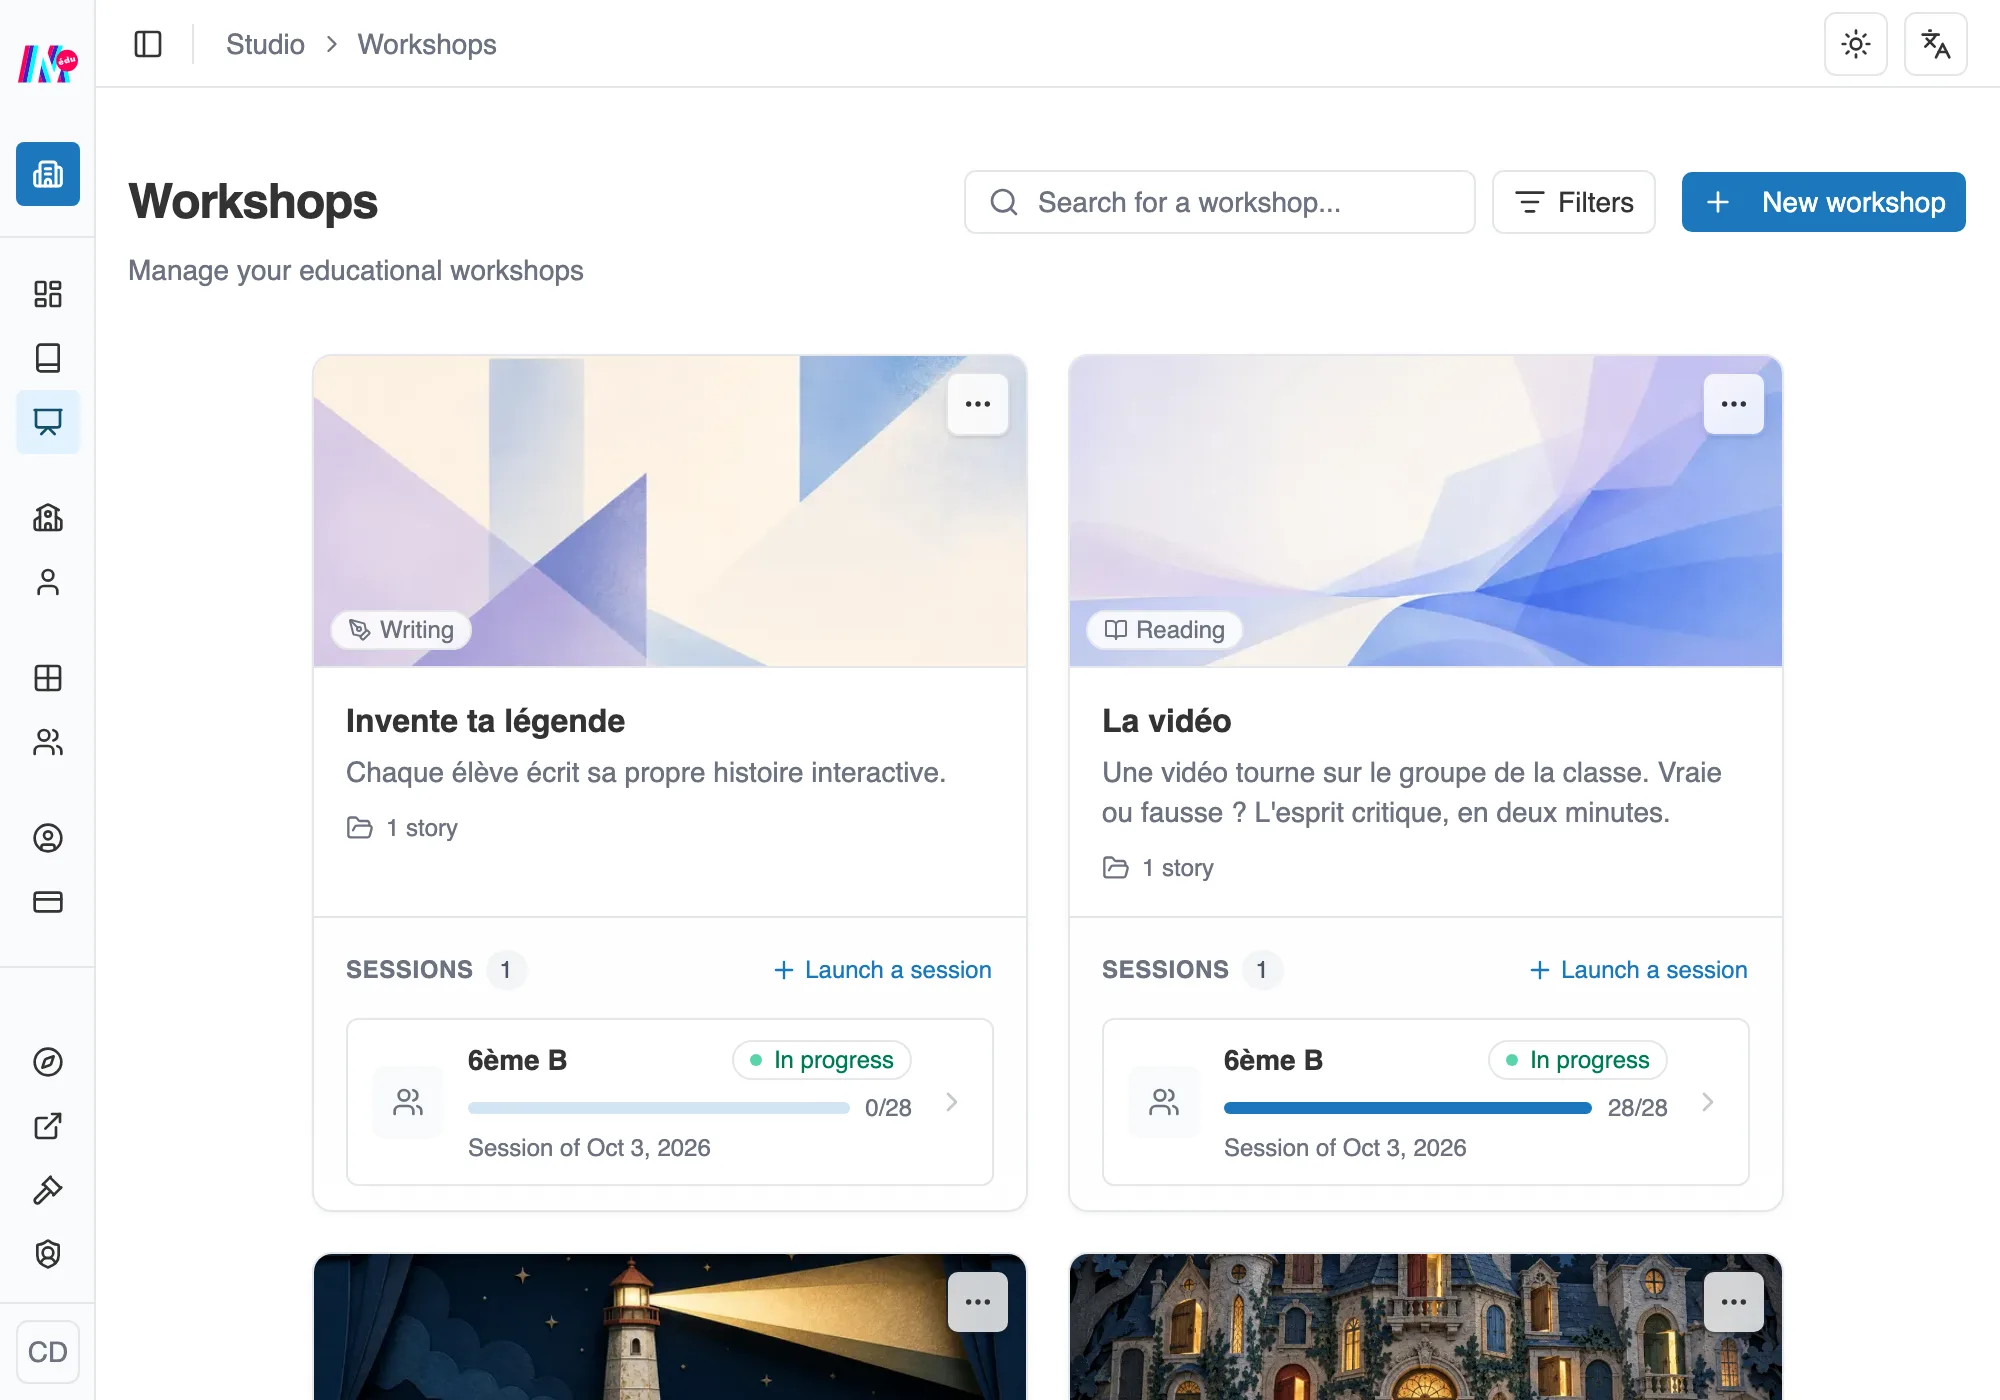
Your workshops, with their sessions. The New workshop button is at the top right.
Create the workshop
Section titled “Create the workshop”The New workshop button opens a two-screen wizard.
1. The workshop type
Section titled “1. The workshop type”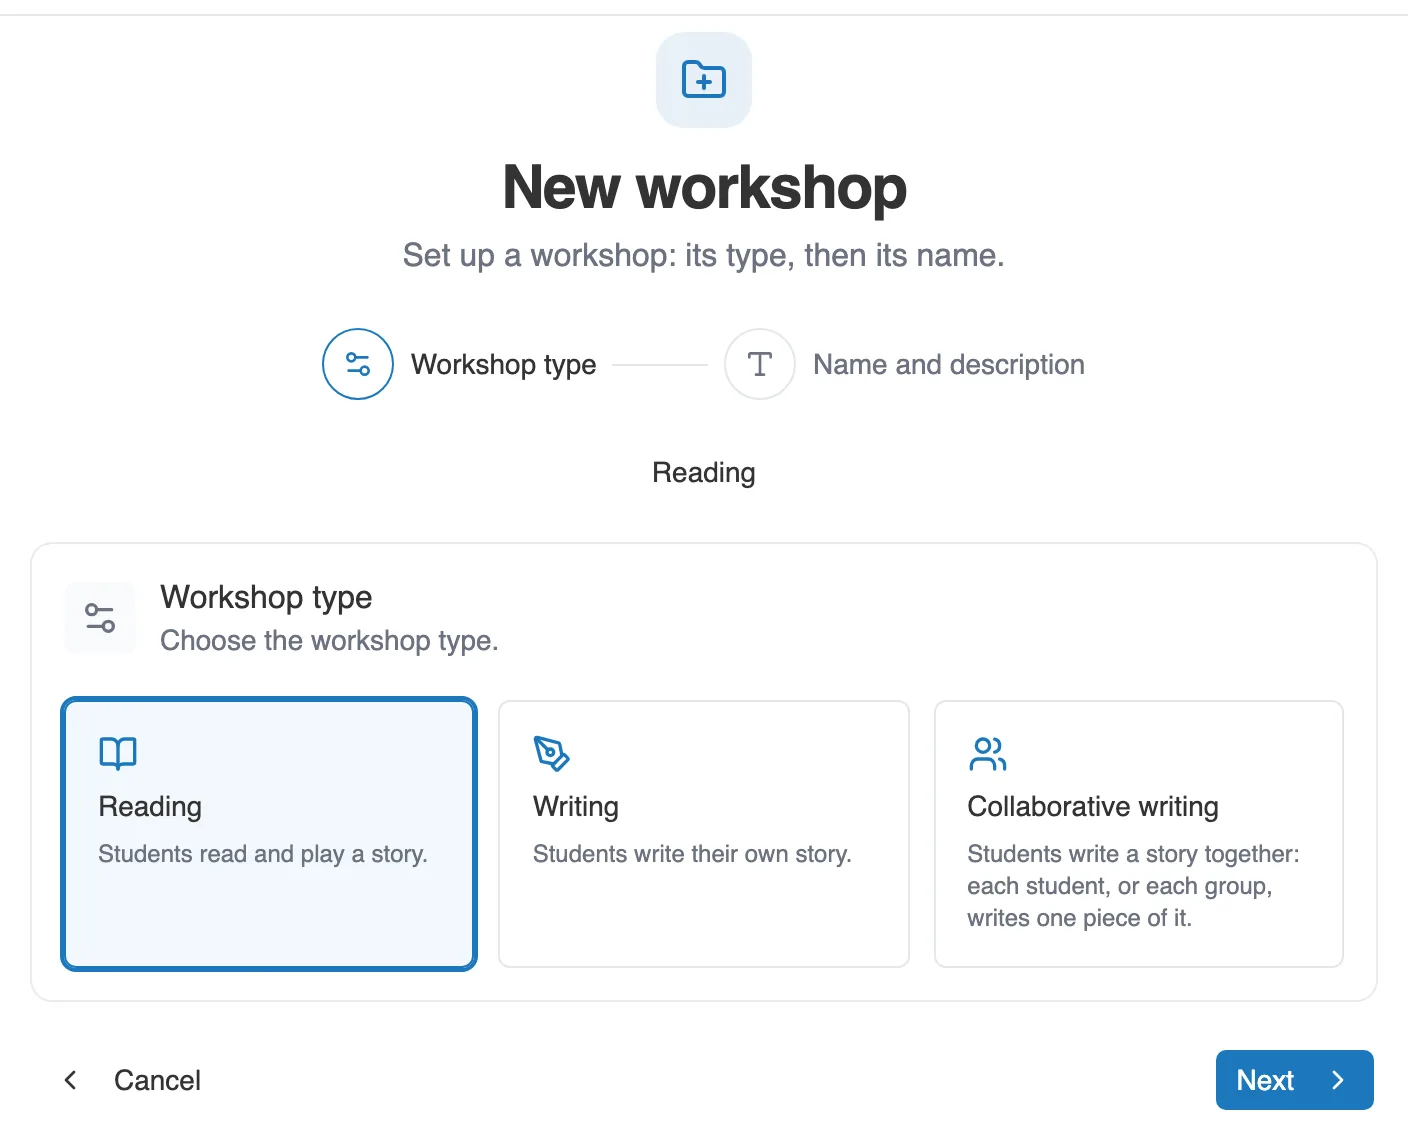
The first screen: three types, one sentence for each.
The type decides what students will do and the tracking you will get. Each has its full guide:
- Reading: students read and play a story. See A reading workshop.
- Writing: students write their own story. See A writing workshop.
- Collaborative writing: students write a master story together. See A collaborative writing workshop.
Choose, then Next.
2. The name and the description
Section titled “2. The name and the description”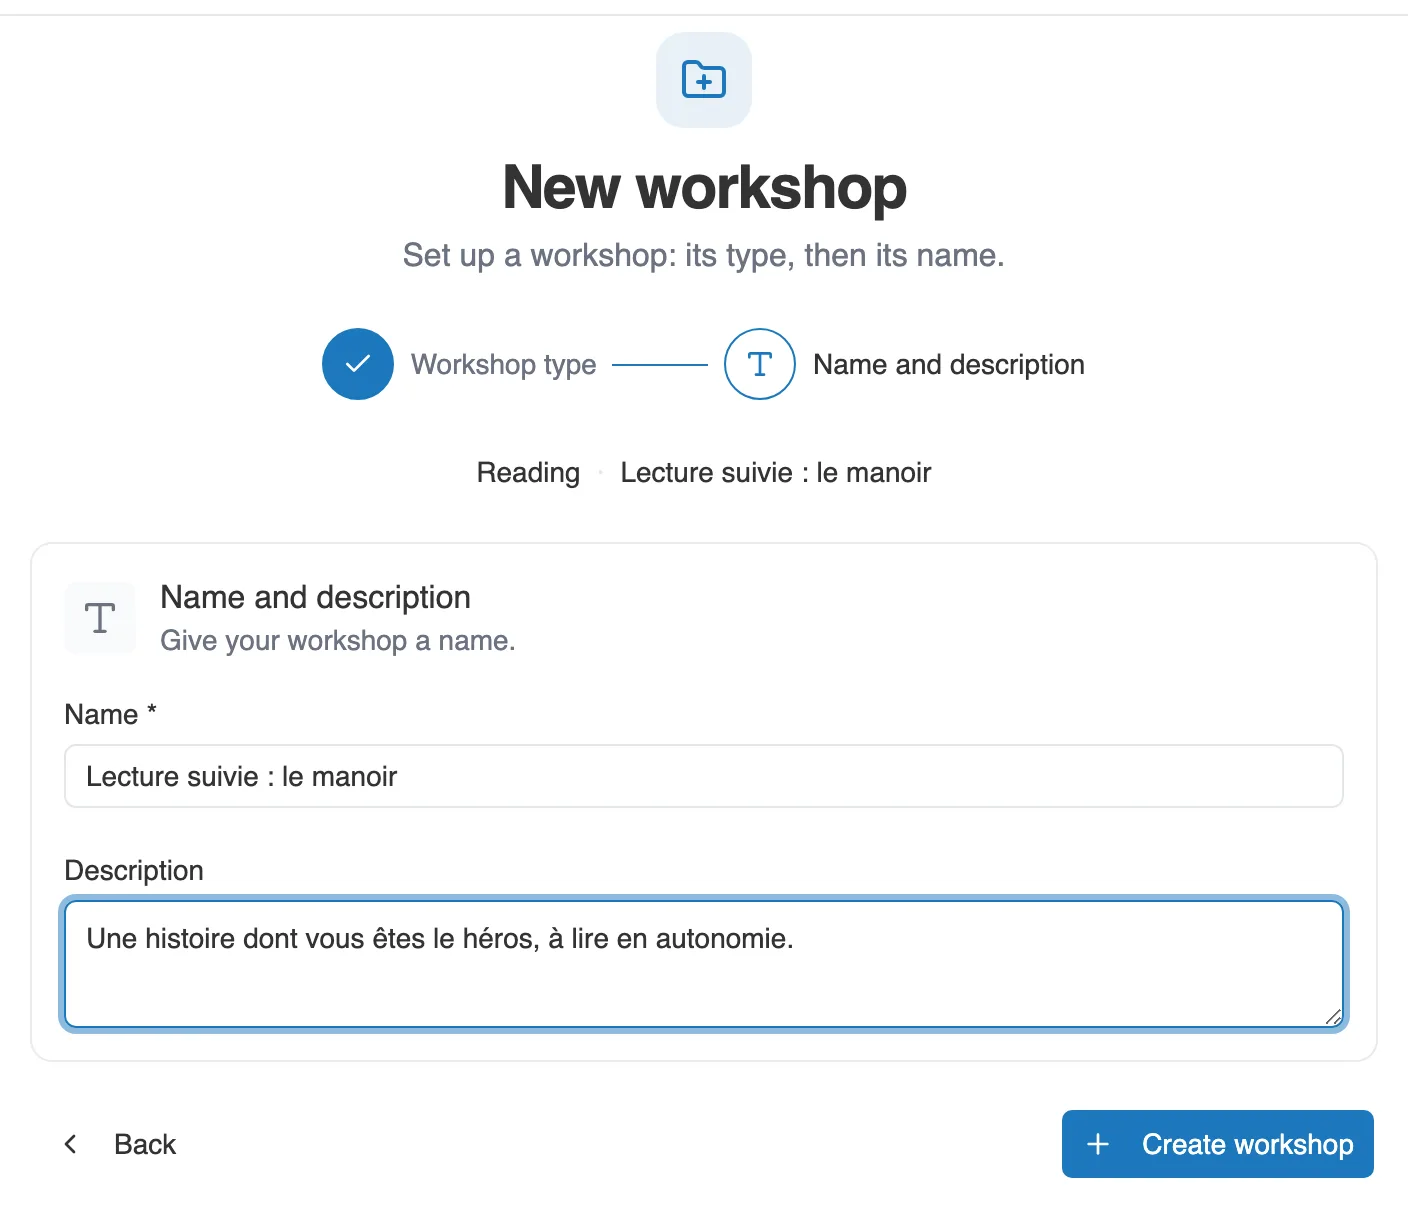
The second screen: a name, a description, and it is created.
Only the name is required. The description can be completed later, like everything else. Create workshop takes you to its page.
The page of a new workshop
Section titled “The page of a new workshop”The workshop exists, but it is empty: its label says Incomplete.
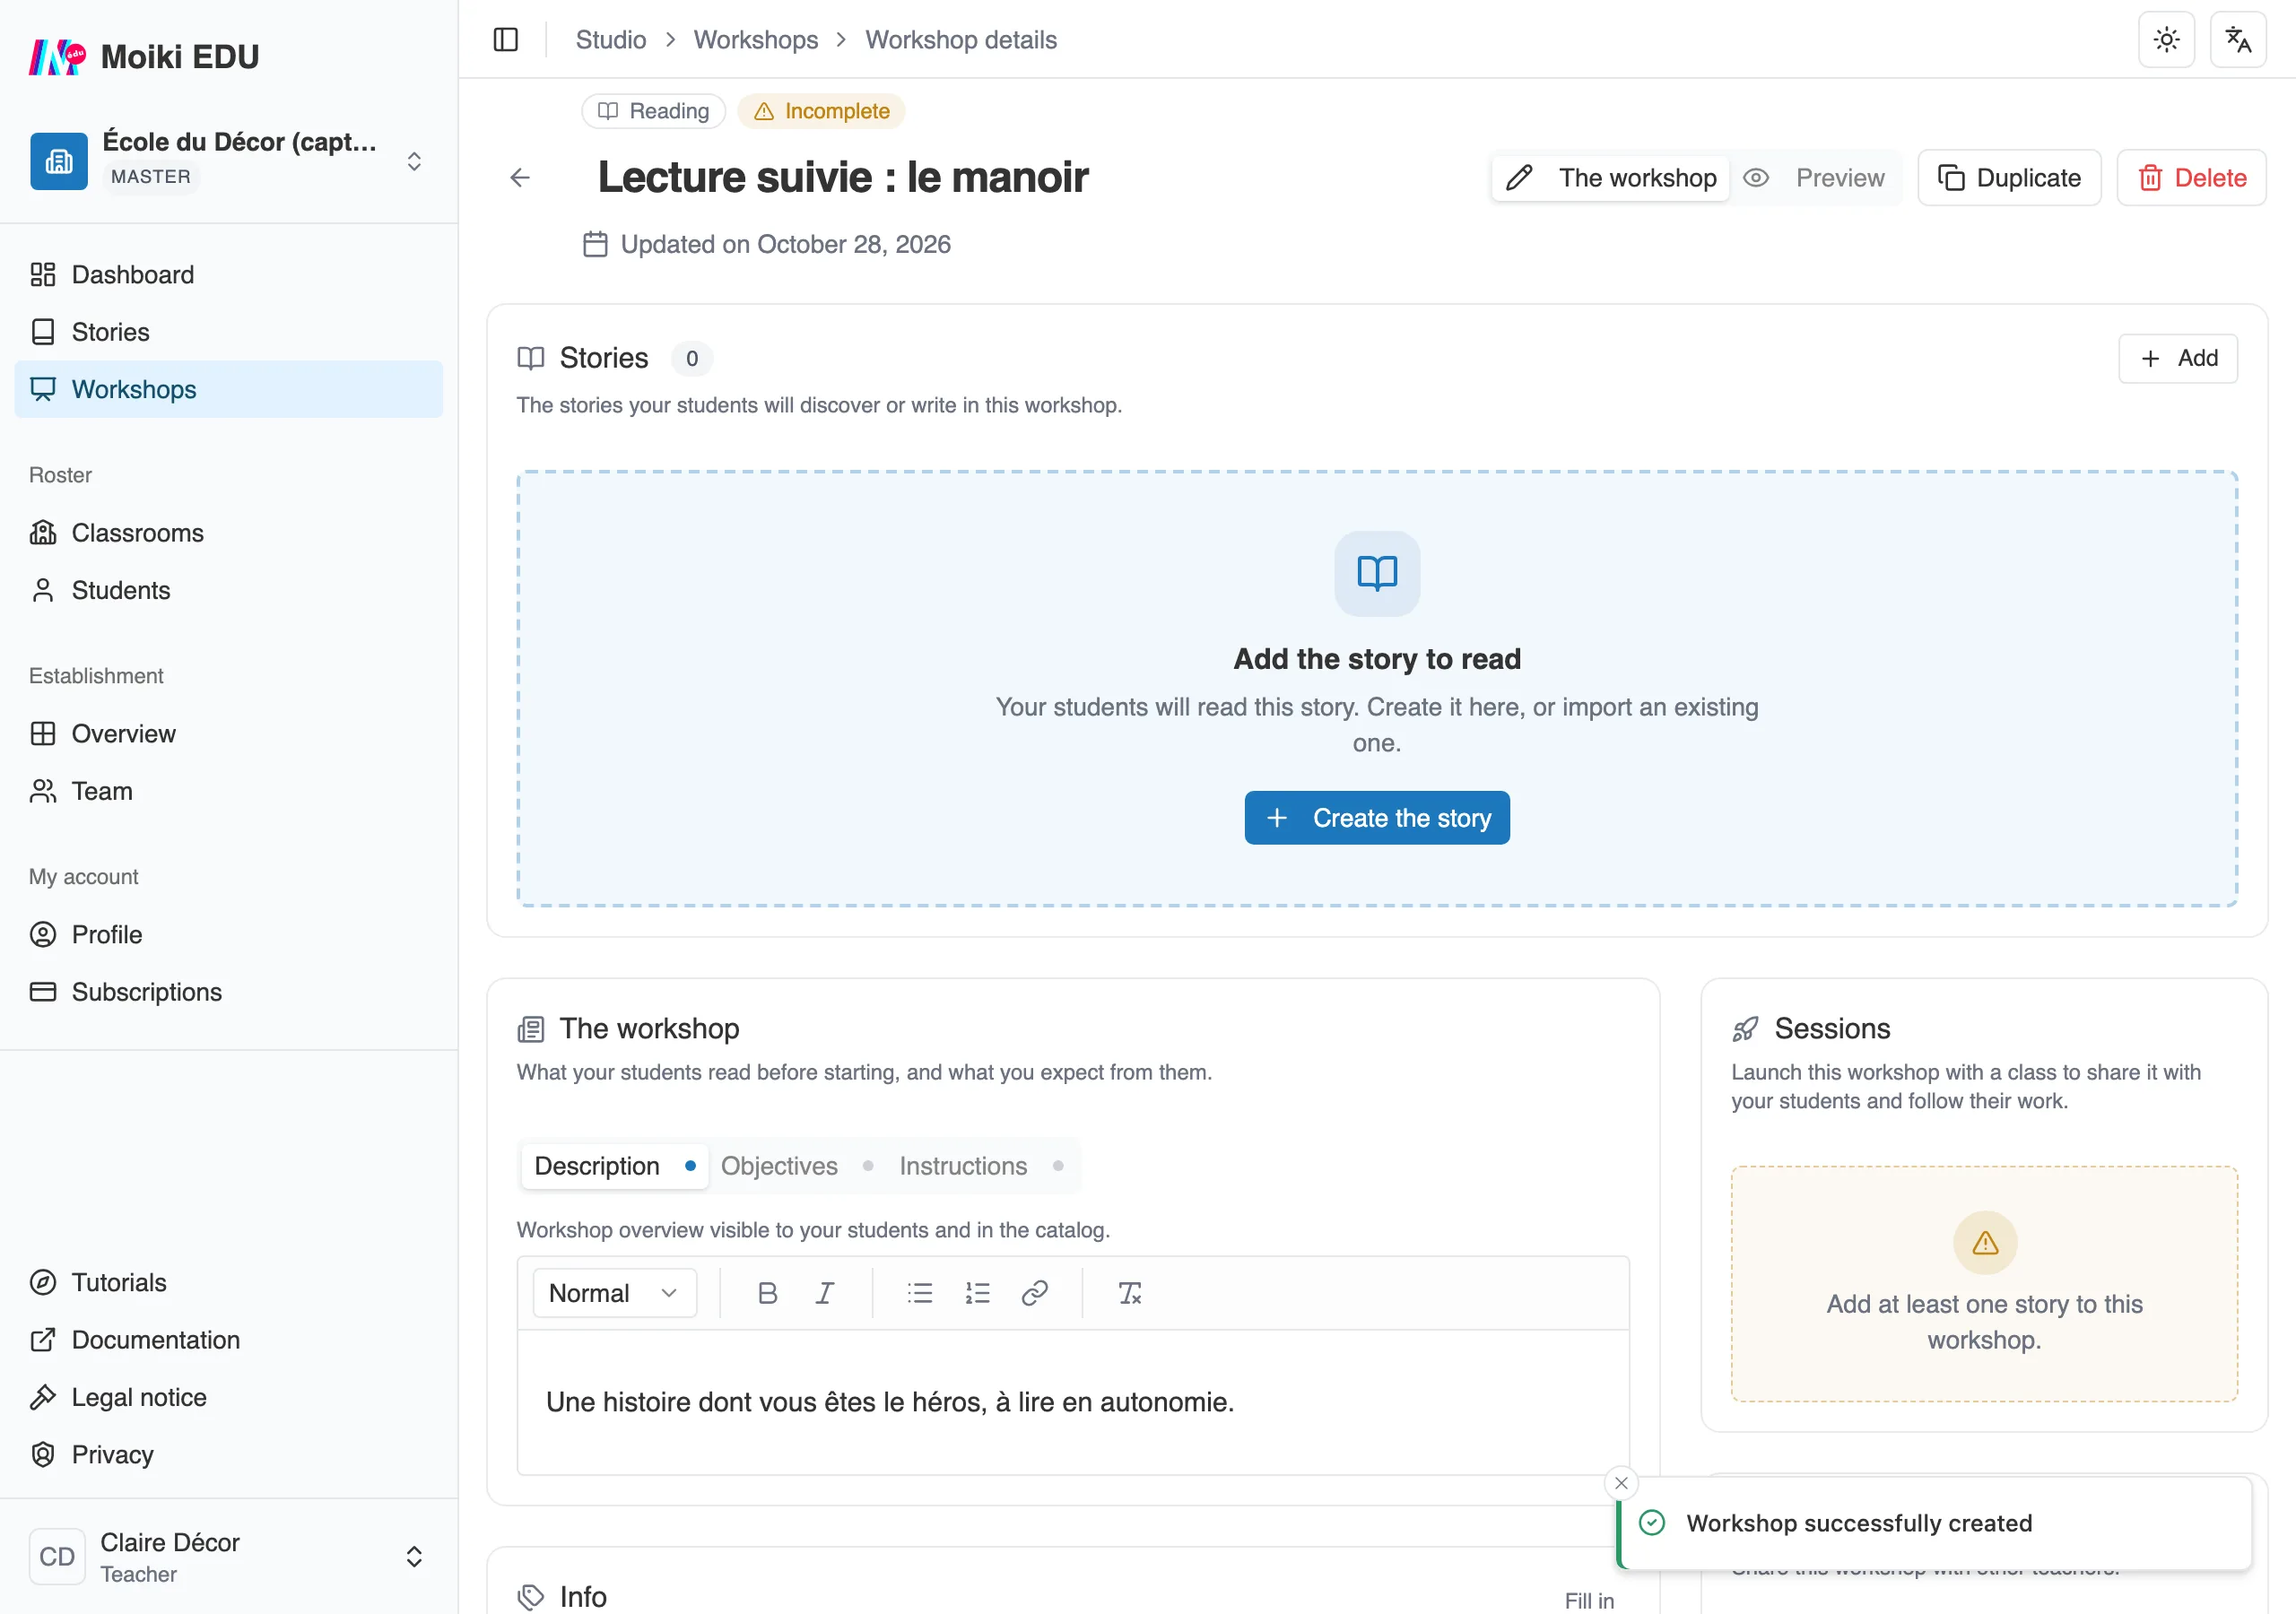
A reading workshop that has just been created. The dashed box says what is missing.
What is missing first is the story. The box in the Stories block says so in the words of the type:
- in reading, Add the story to read,
- in writing, Add a starting story (optional),
- in collaborative writing, Create the master story.
Add a story
Section titled “Add a story”The Create the story button of the box, like the Add button of the block, opens the same two-entry menu.
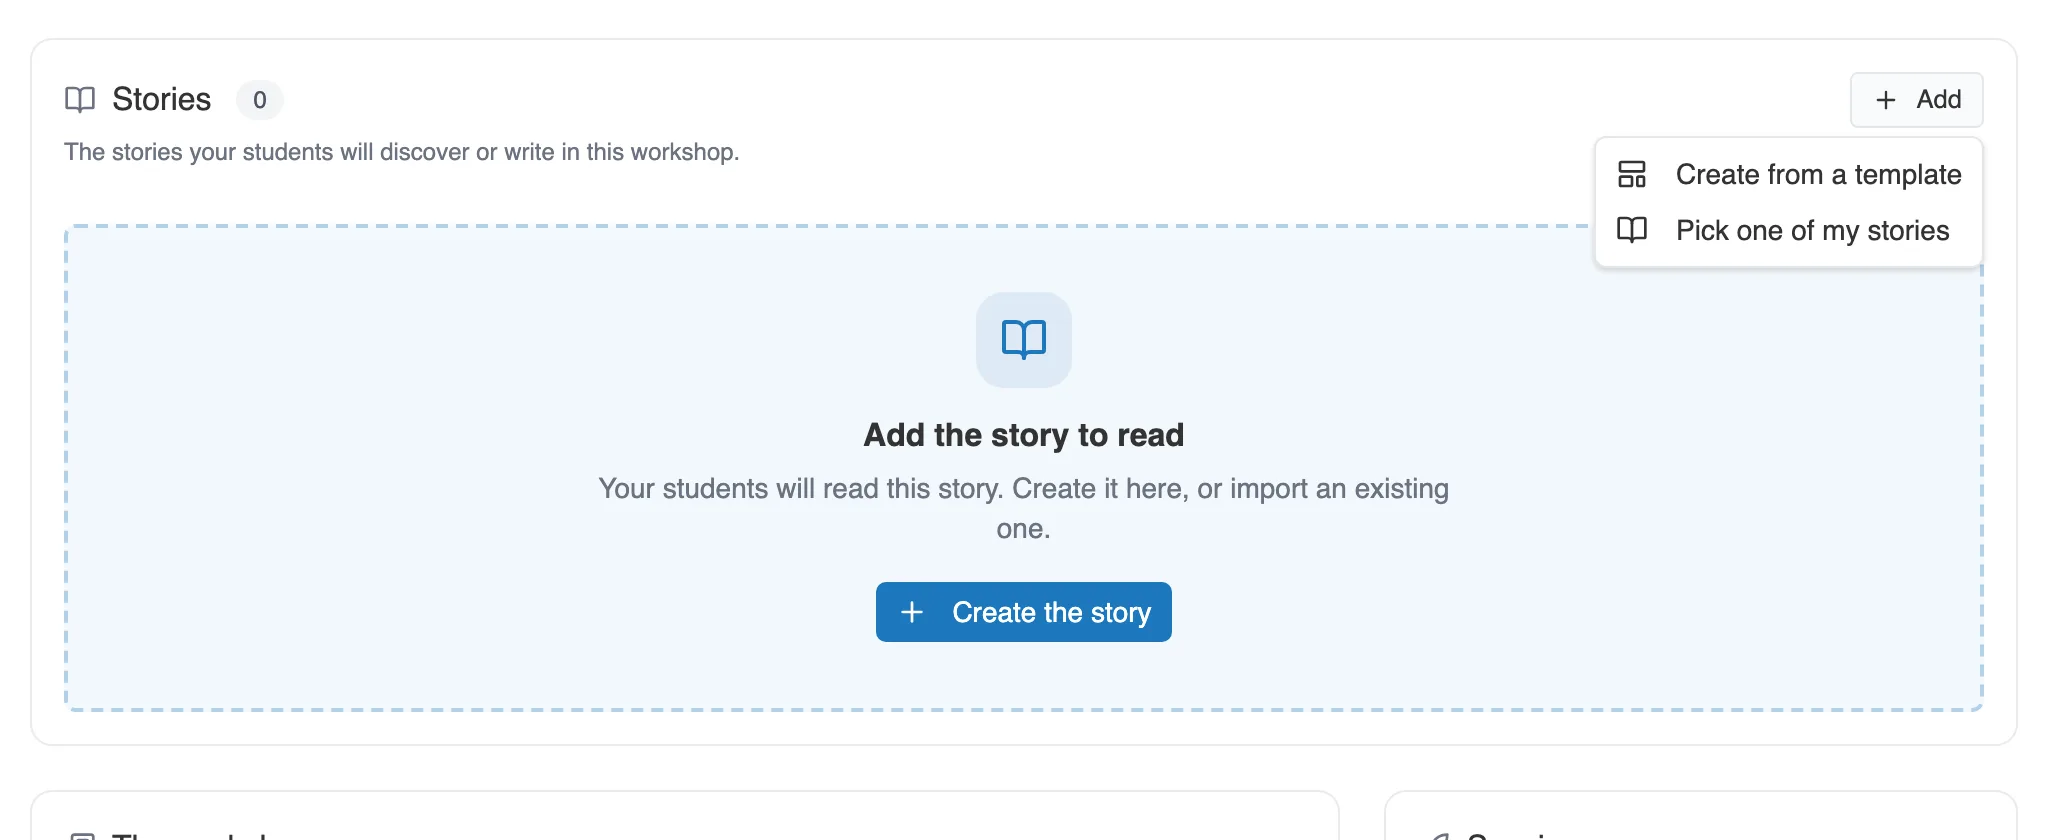
Two ways: start from a template, or reuse a story of yours.
Pick one of my stories
Section titled “Pick one of my stories”A panel lists your stories, with a search. Select the one you want, then Add.
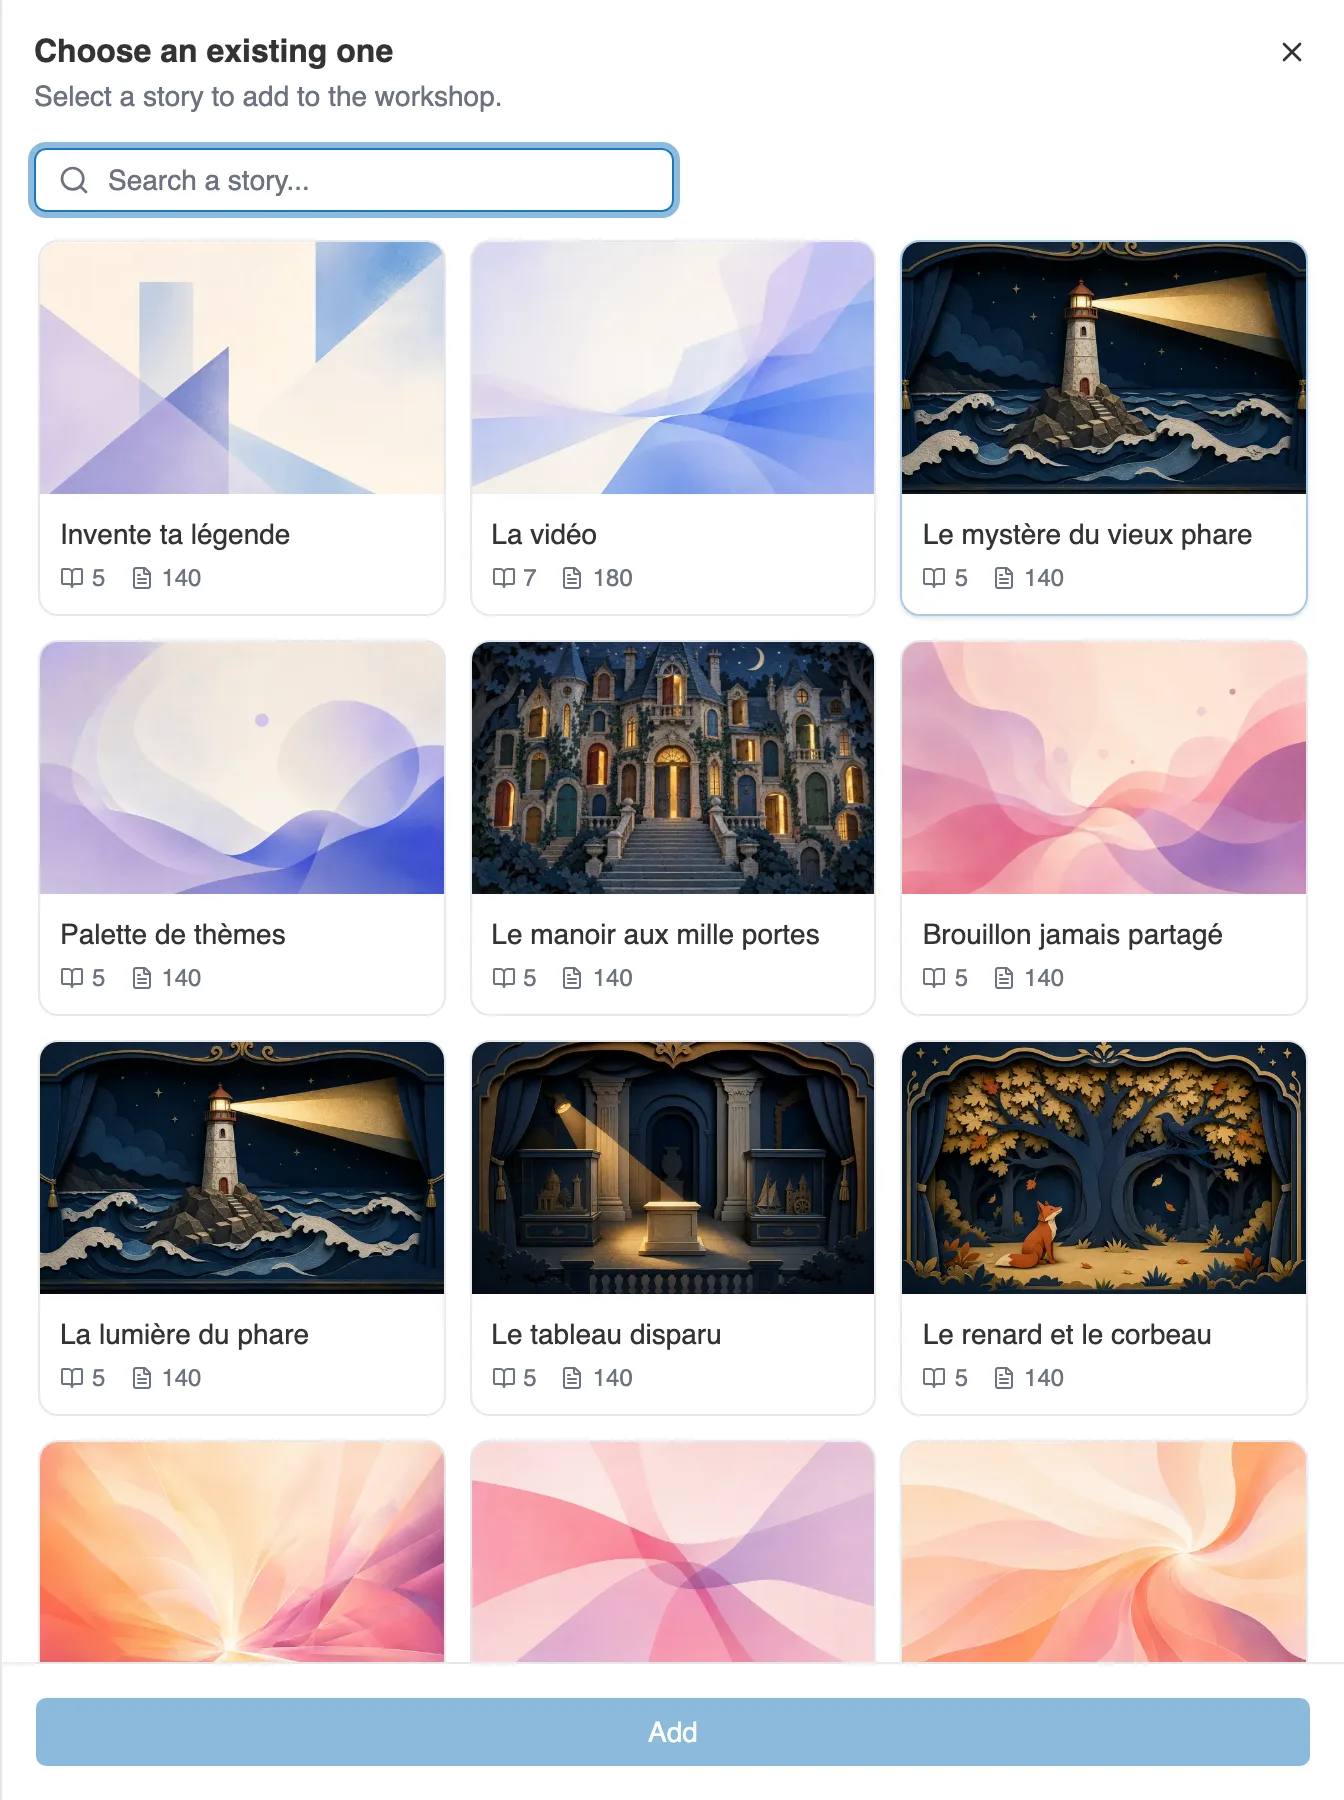
Your stories, to attach in one click.
Create from a template
Section titled “Create from a template”The New story panel offers a starting structure, asks for a name, and lets you pick a theme. Choose a template opens the template gallery.
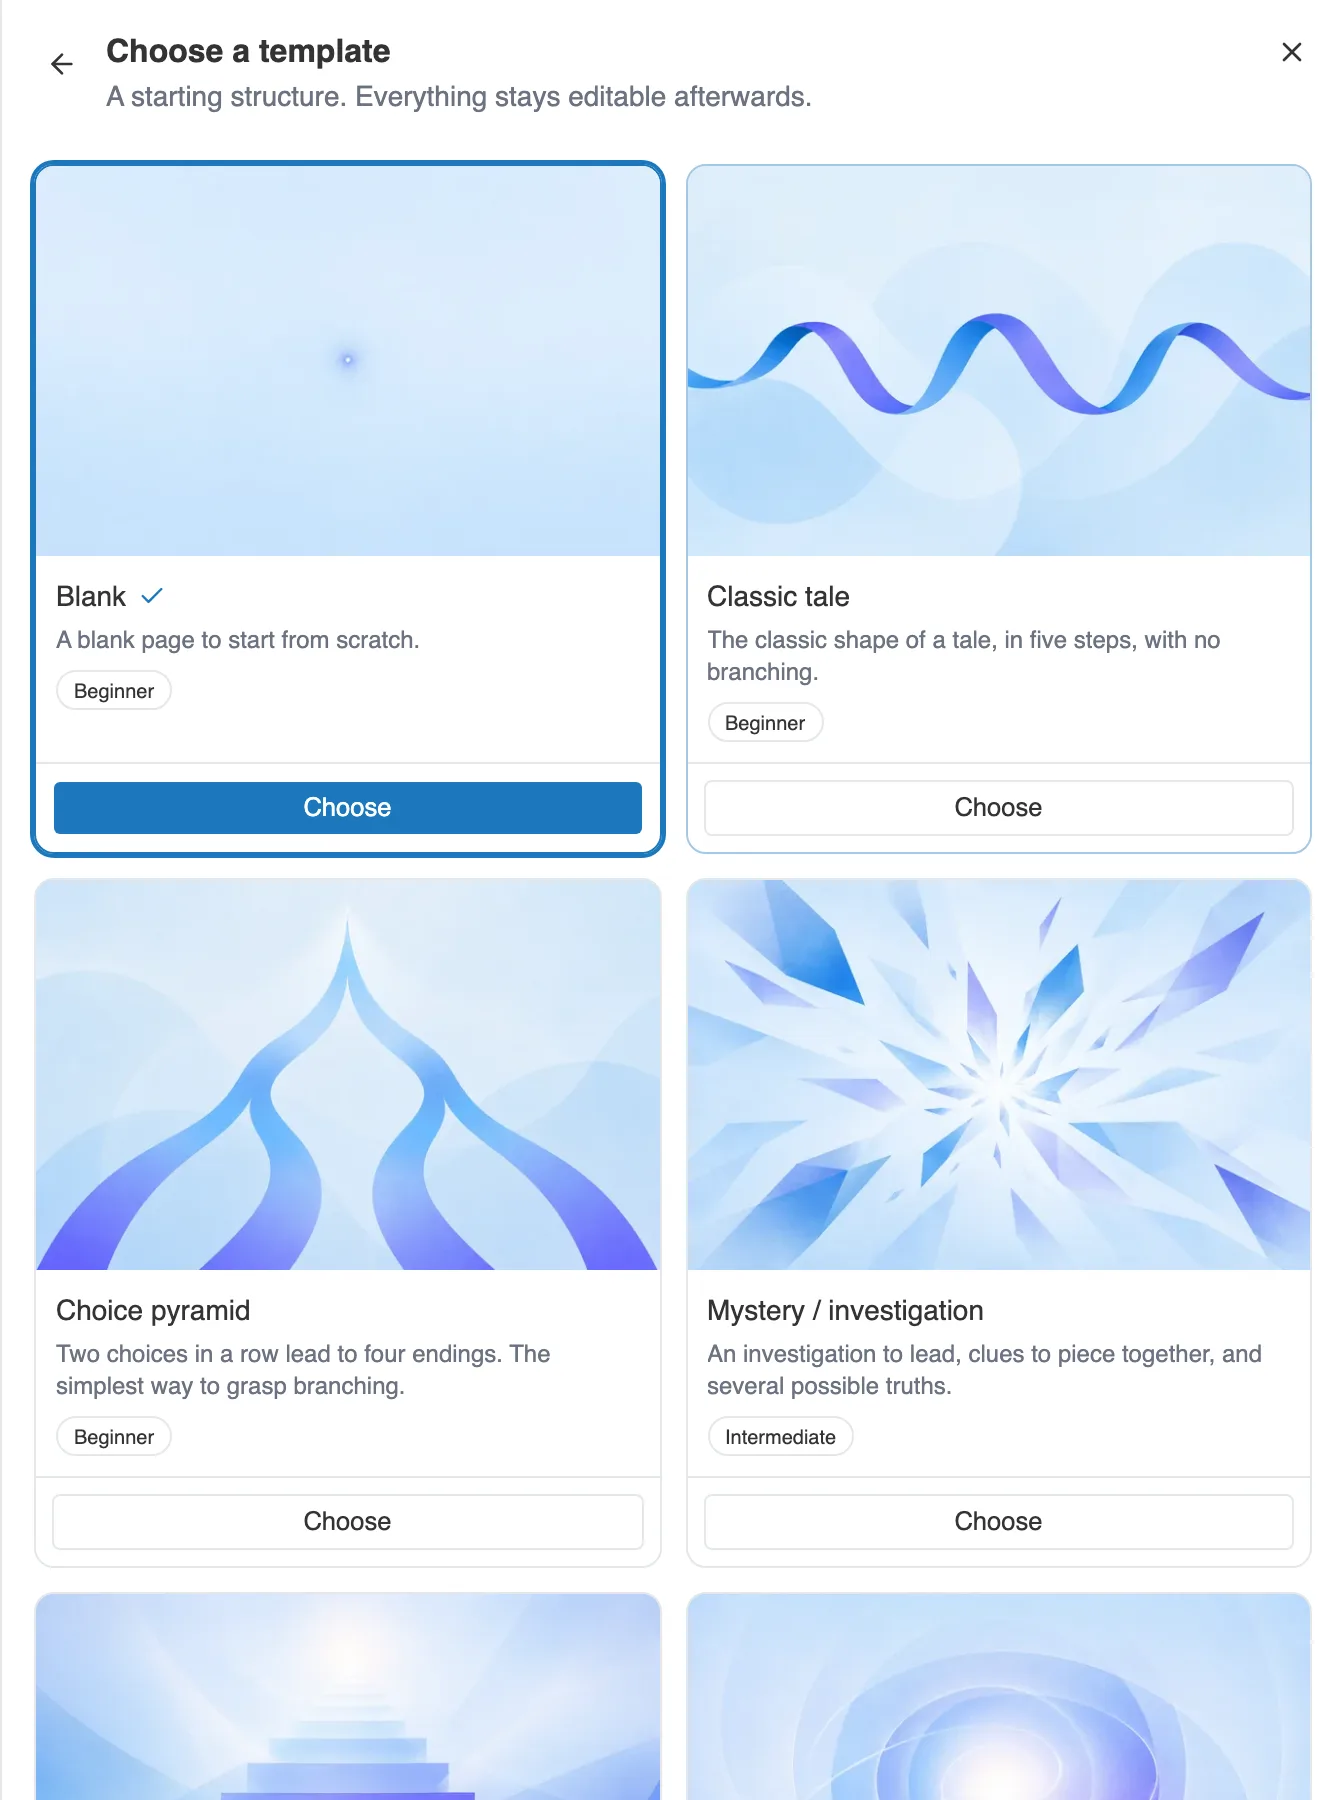
The story templates. Each one states its level.
Create the story creates it, attaches it to the workshop, and opens it in the editor. Closing the editor brings you back to the workshop page.
Fill in the workshop
Section titled “Fill in the workshop”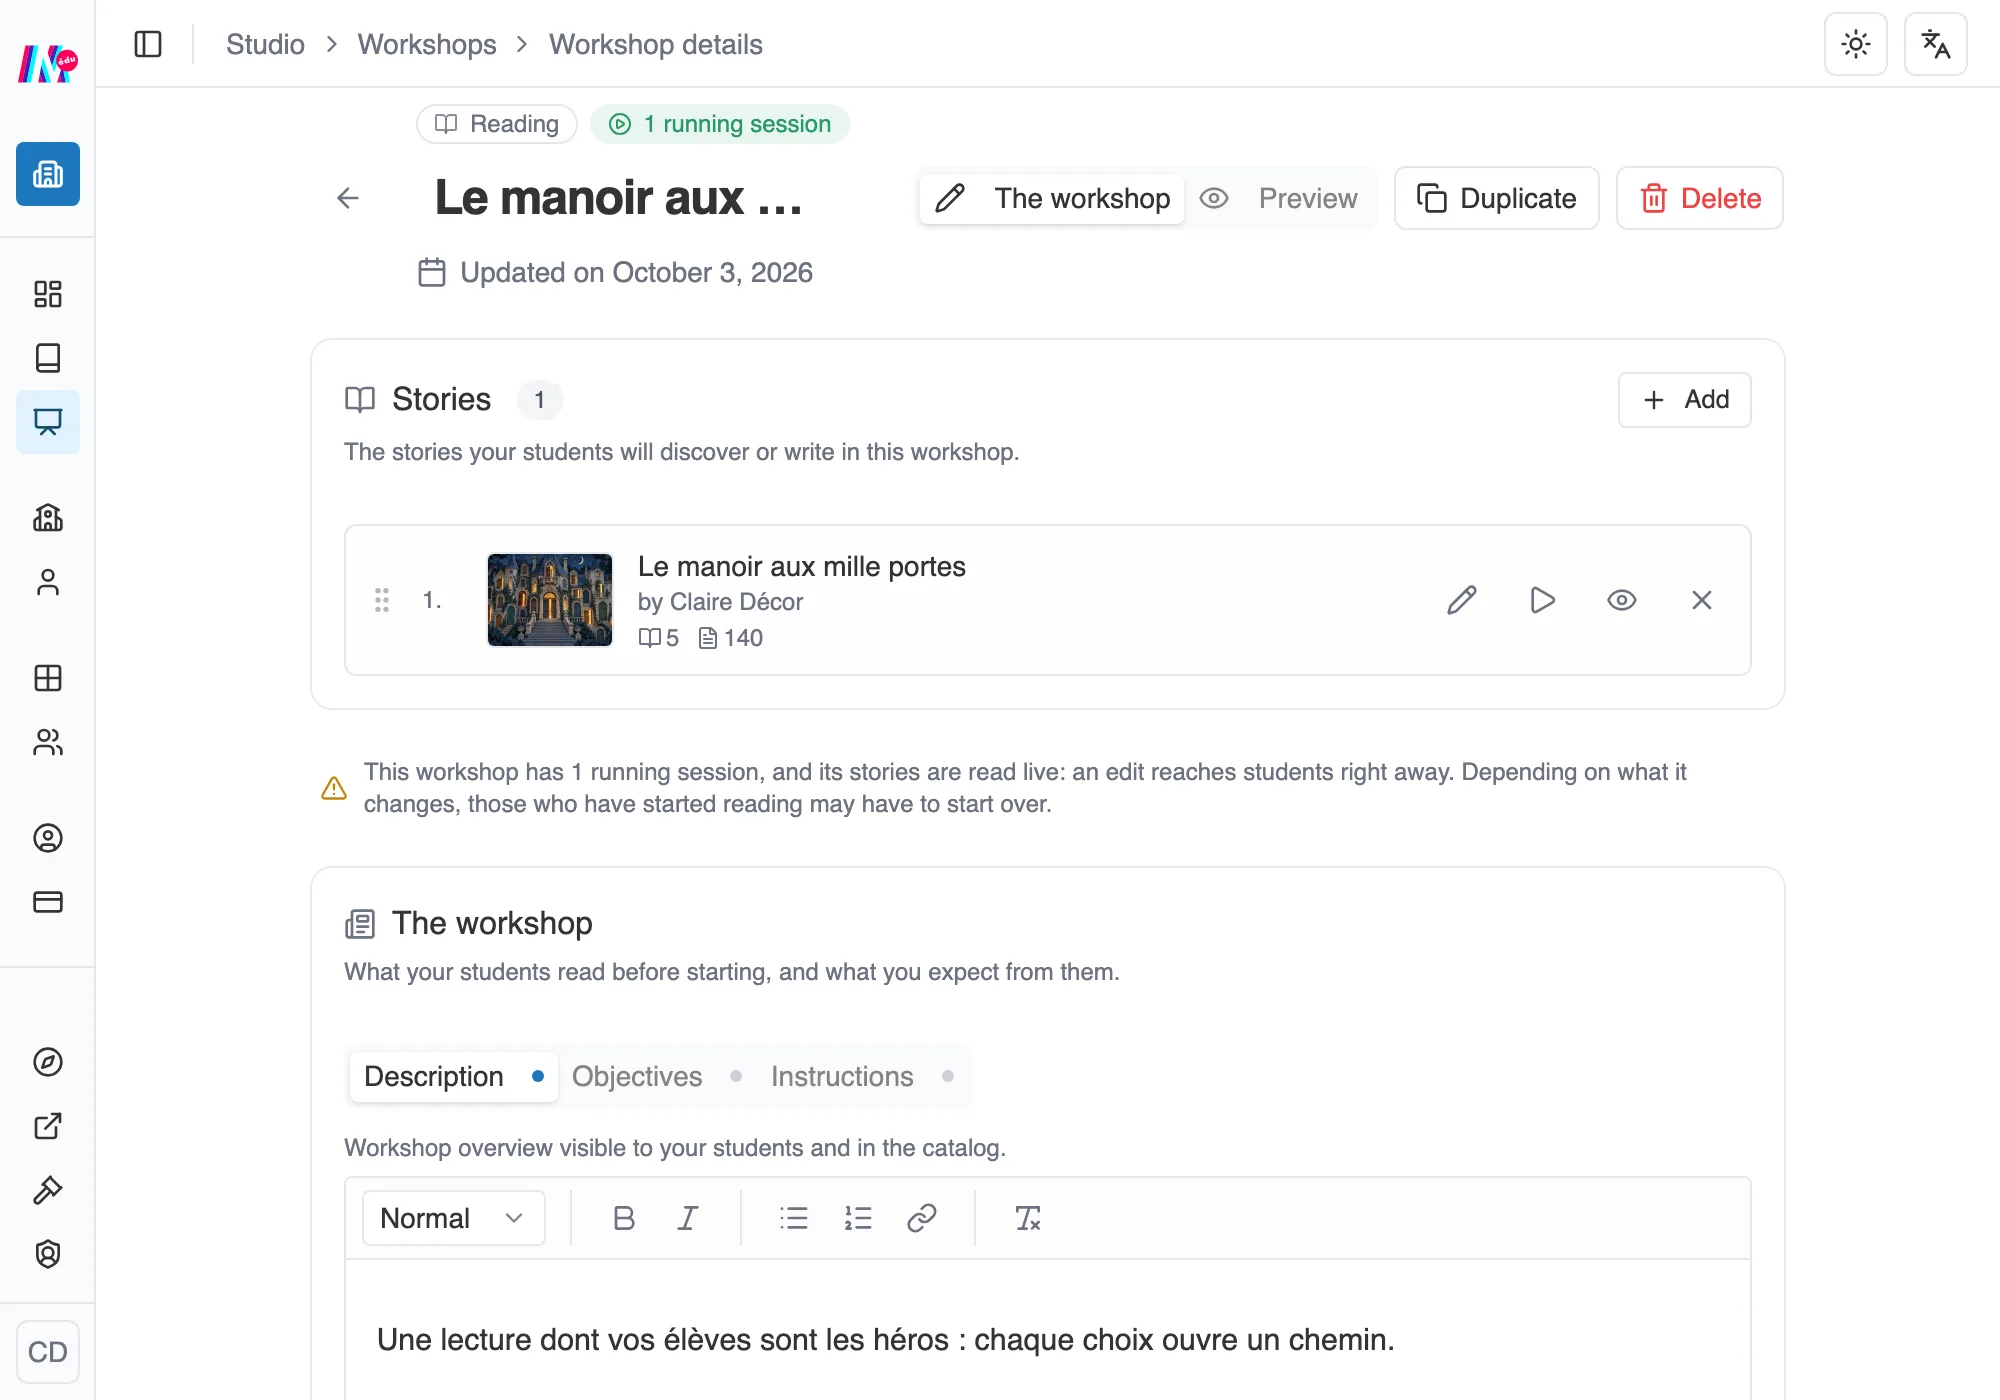
The page of a filled-in workshop, where everything is set directly.
On the workshop page, everything is edited directly: click an element, type, and Moiki saves as you go. It is organized in blocks.
Stories
Section titled “Stories”The stories of the workshop. Their number and their role depend on the type (a story to read, a starting story, a master story): your guide says which. On each story, four actions: Edit the story, which opens it in the editor to change it, Read the story, which plays it in the reader, View in the editor, which opens it read-only so you can look at how it is built without risk of touching it, and removing it from the workshop.
The workshop: description, objectives, instructions
Section titled “The workshop: description, objectives, instructions”This is what your students will read before they start. Three tabs, and a dot next to the ones that are filled in.
- Description: the presentation of the workshop, visible to your students and in the catalog.
- Objectives: what students will learn or produce.
- Instructions: the run, the steps, the practical instructions.
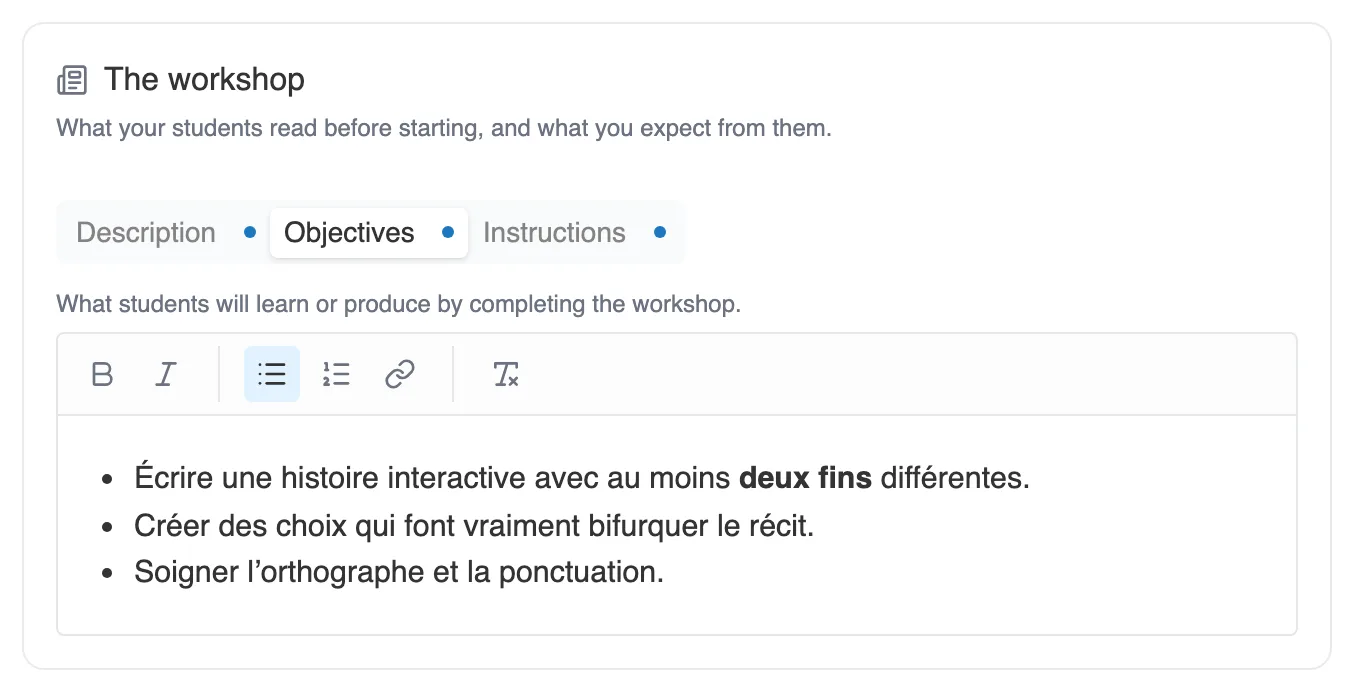
The Objectives tab.
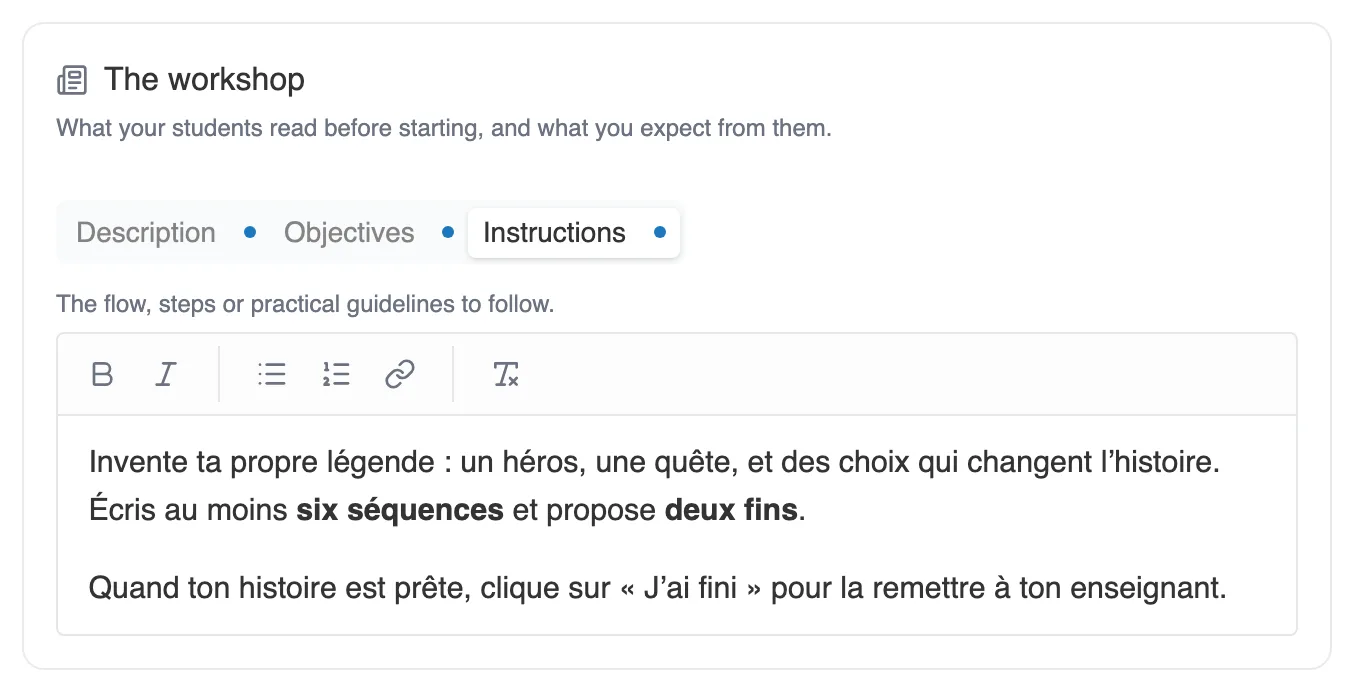
The Instructions tab. Students find them again throughout the activity.
The subject, the level and the skills the workshop relates to. They are used by the catalog and its filters. Fill in opens a window with the three lists.
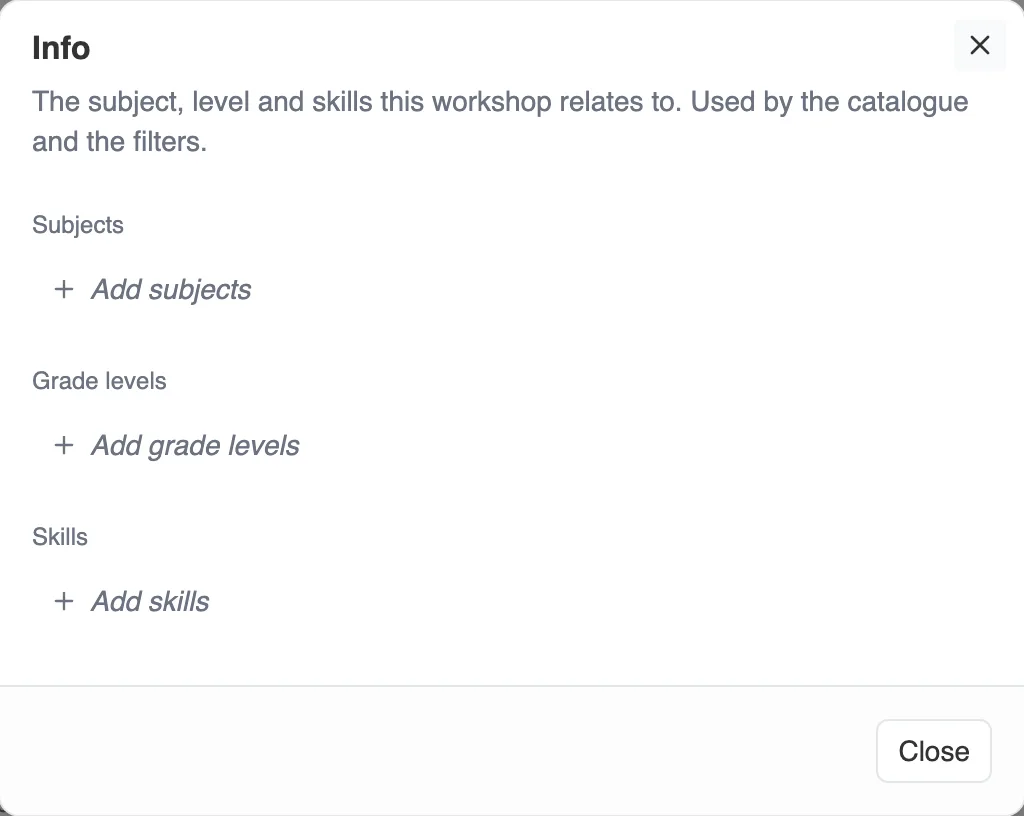
The Info window.
Resources
Section titled “Resources”Files to make available to students (documents, images, sounds, videos). The whole set fits in 15 MB per workshop on the free plan, 50 MB with a paid plan, and a single document cannot exceed 15 MB. Drop them in the frame, or click to browse.
Cover and credits
Section titled “Cover and credits”The image that stands for the workshop. If you do nothing, Moiki sets a default one. You can take it From a story of the workshop, or Upload an image. Underneath, the Credits: sources, authors and licenses of the media used.
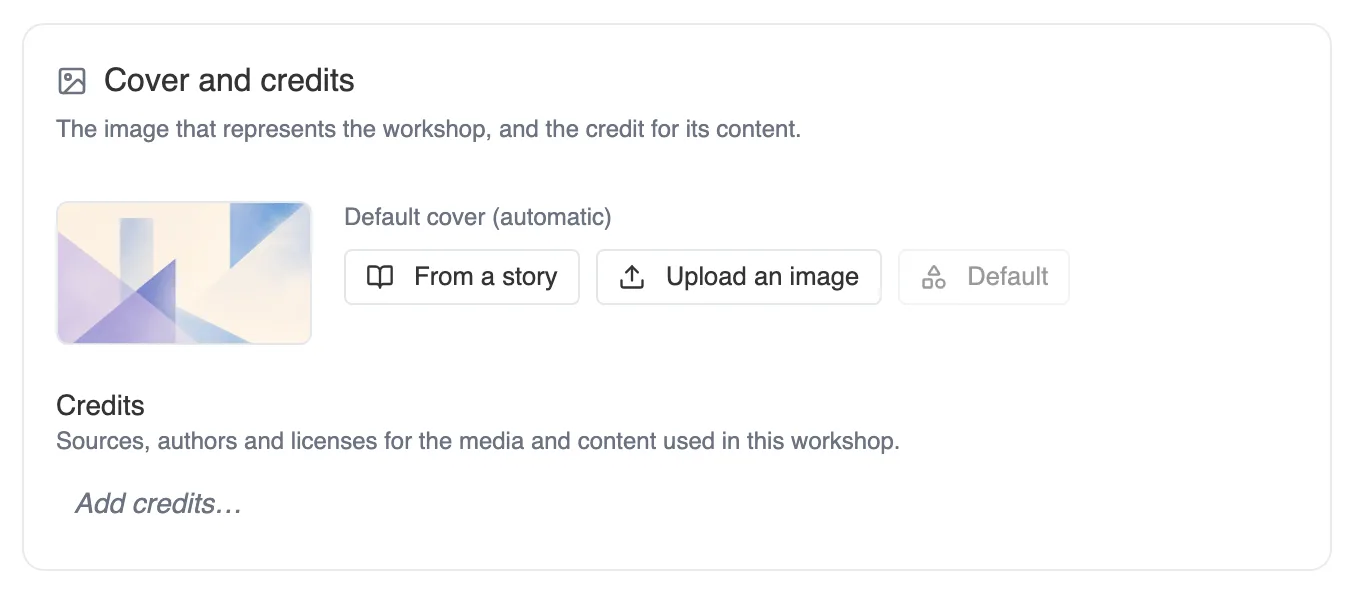
The cover, and the credits.
Writing scope, Sessions, catalog
Section titled “Writing scope, Sessions, catalog”- Student writing scope, on writing and collaborative writing workshops: what students can create in the editor. See A writing workshop.
- Sessions: the sessions already launched, and the button to launch one. See Launch and track a session.
- Publish to the catalog: to share the workshop with other teachers. See The catalog.
See the workshop as your students do
Section titled “See the workshop as your students do”At the top of the page, a toggle switches from The workshop, where you set everything, to Preview, which shows the workshop as your class will see it. The preview has two views.
Page is the page the student opens: the cover, the title, the stories, your texts.
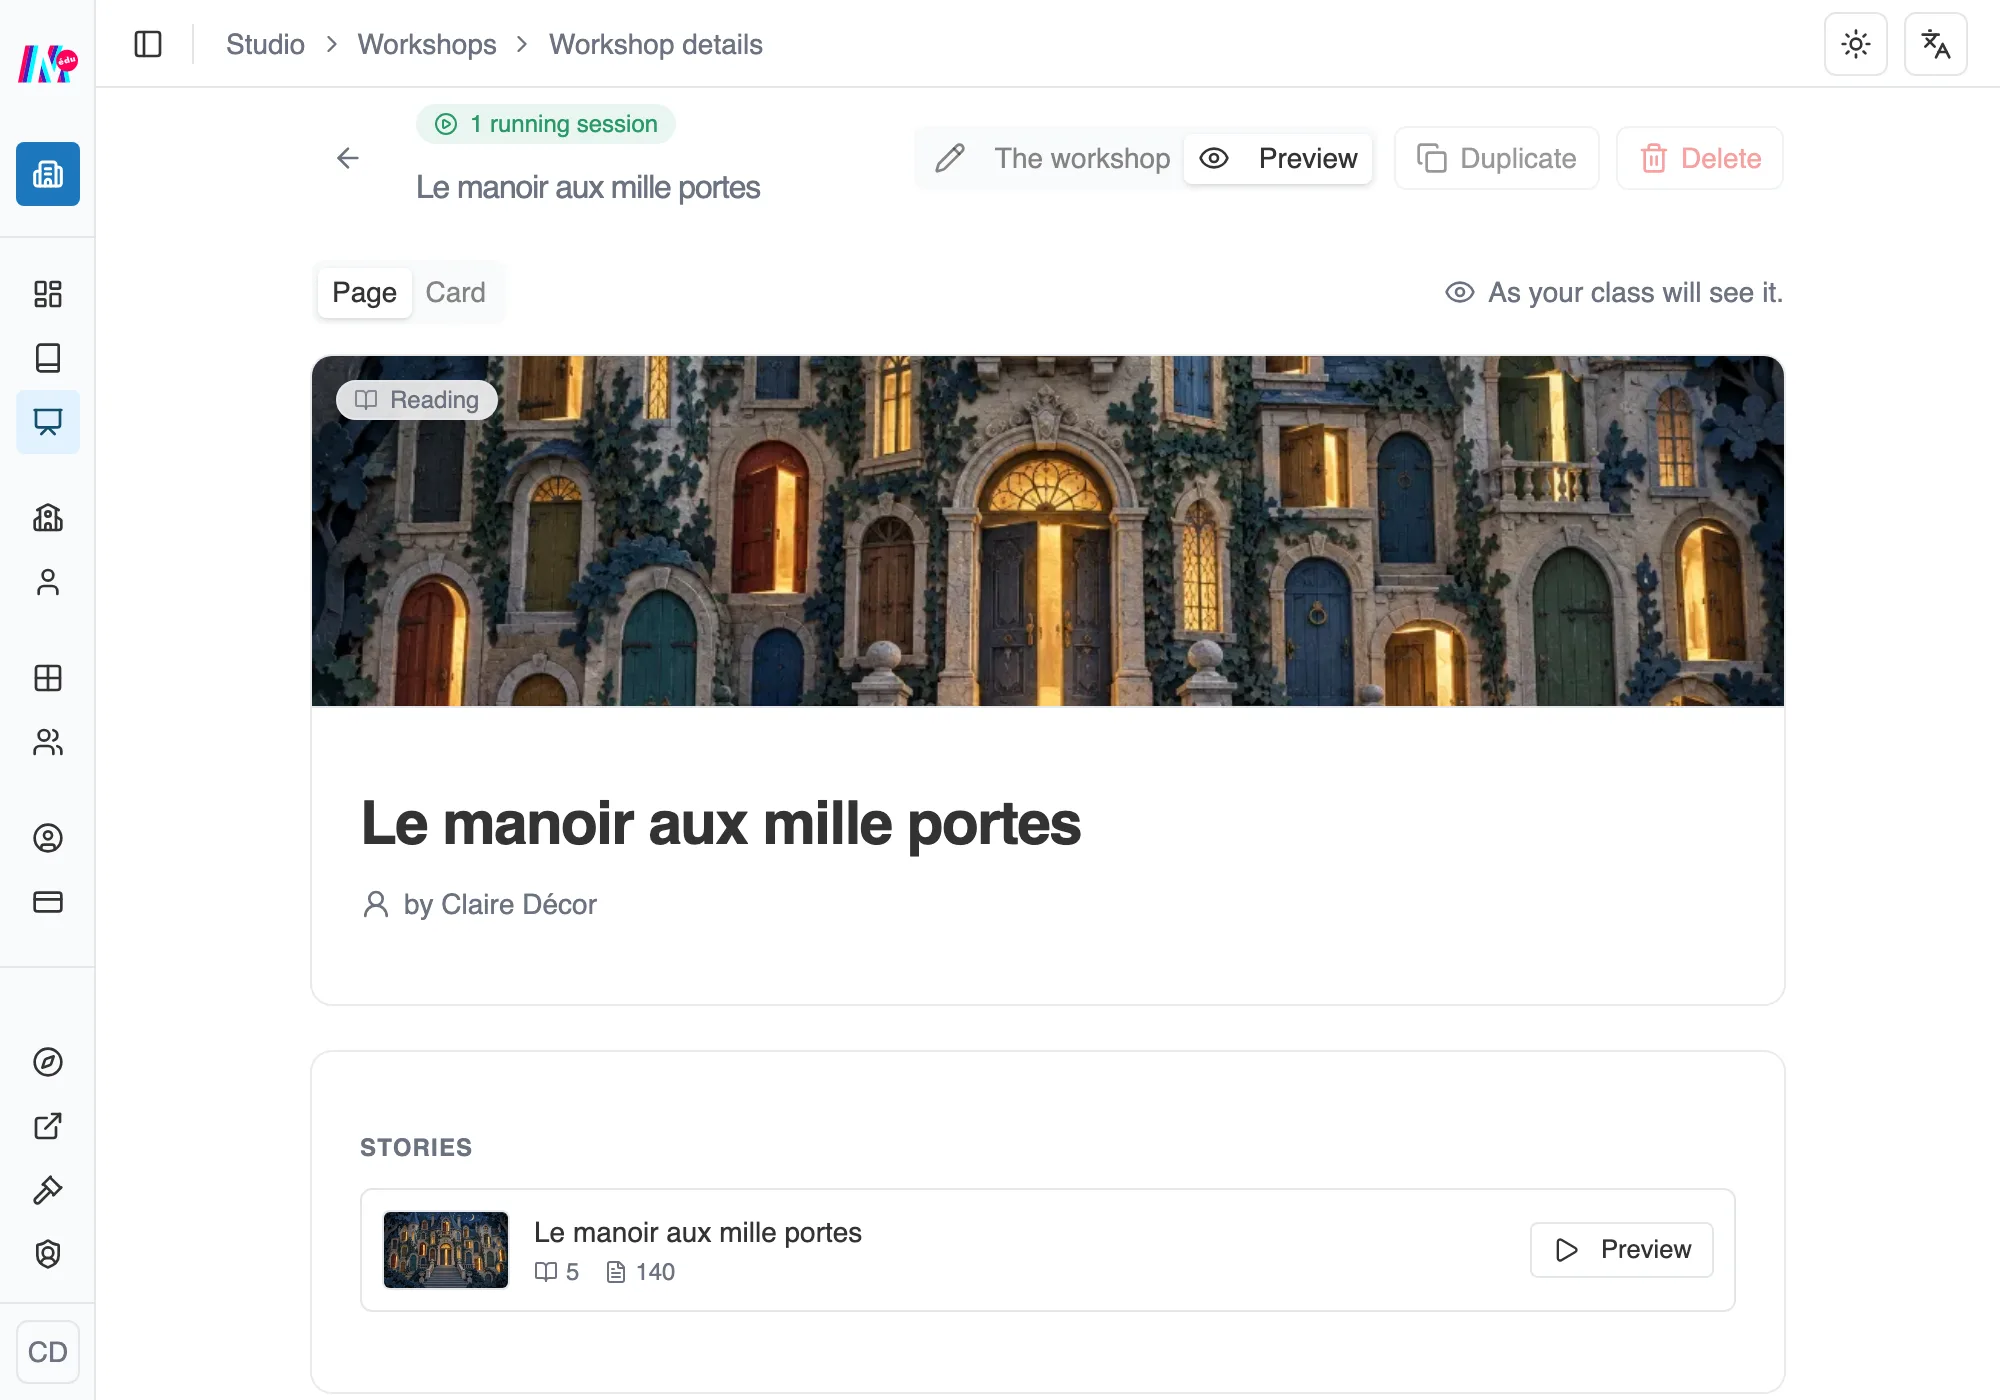
The Page view: what the class will see, and nothing else.
Card is the thumbnail they see in their list of workshops.
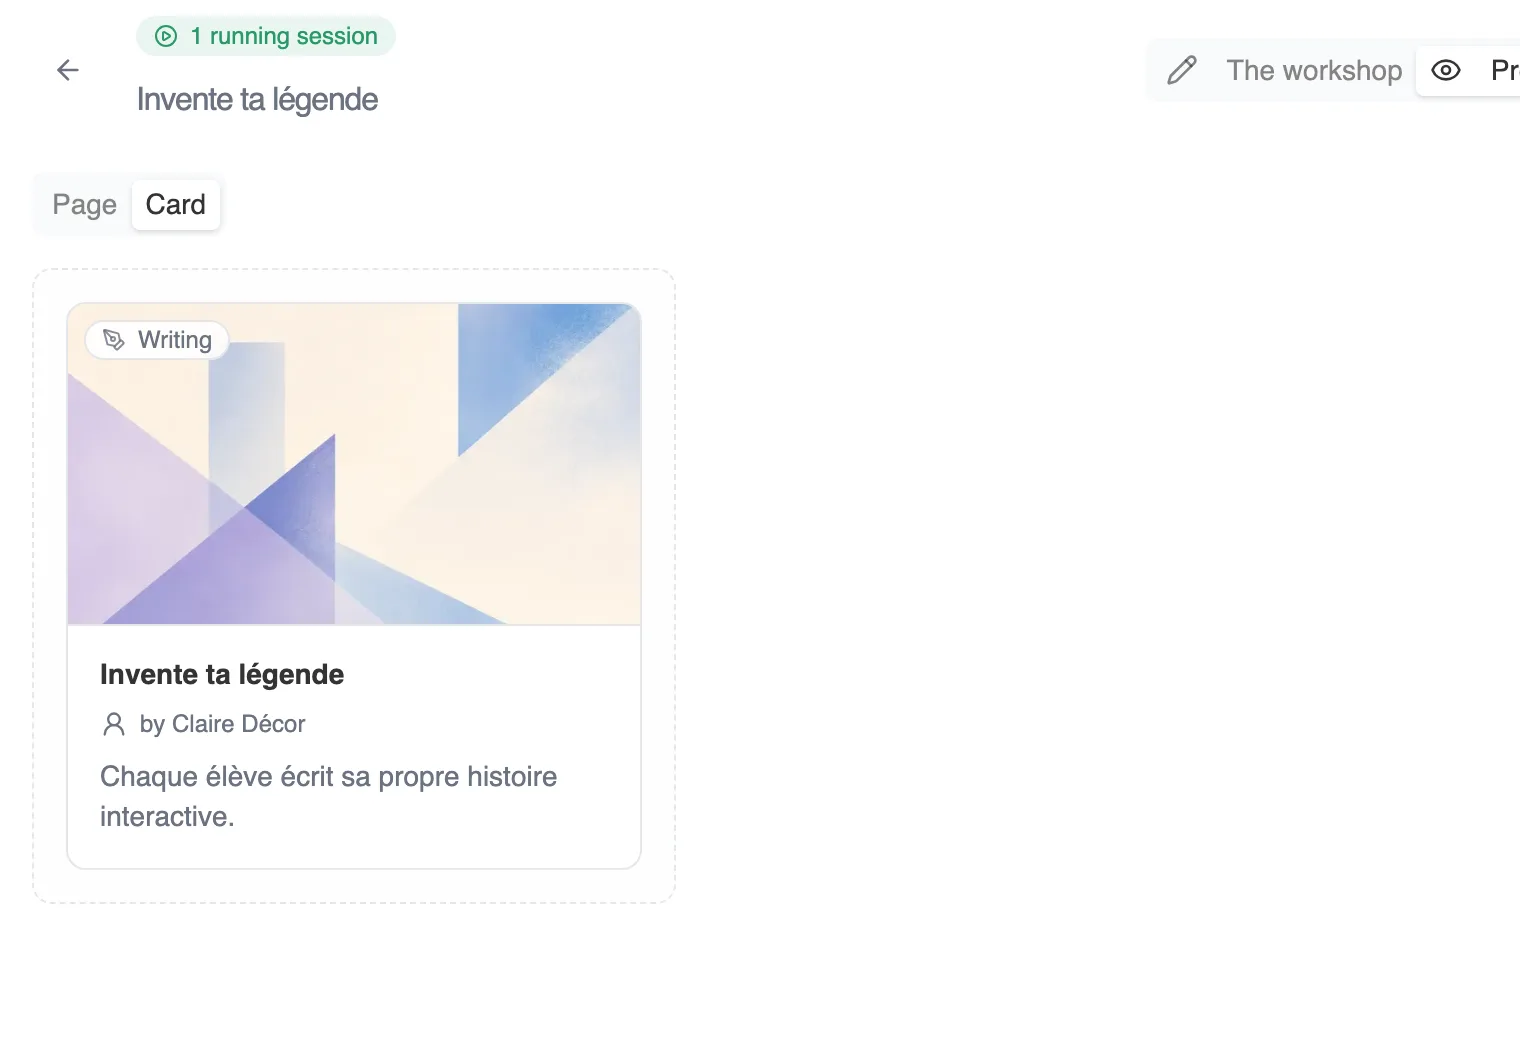
The Card view.
Ready to launch
Section titled “Ready to launch”When the workshop has what it needs, its label goes from Incomplete to Ready to launch. You can then launch it with a class: that creates a session. See Launch and track a session. As soon as a session is running, the label says so instead: 1 running session, or the number of running sessions.
Rework a workshop while a session is running
Section titled “Rework a workshop while a session is running”As soon as a session is in progress, the workshop page shows a reminder. What a change does depends on the type:
- In reading, stories are read live. A change reaches students at once, and those who had started may have to restart their reading from the beginning.
- In writing, the scope and the instructions apply at once. The starting story, though, is copied to each student on their first access: reworking it changes nothing for those who have already opened theirs.
- In collaborative writing, the parts students have already written do not change, but the assembled story follows the master story: an edit reaches it at the next integration. Fragment instructions and the writing scope, however, apply right away. See If you rework the master story along the way.
Duplicate, delete
Section titled “Duplicate, delete”Duplicate creates a copy of the workshop, to adapt for another class or another year.
Delete asks for confirmation, and says what will go with the workshop: its sessions, and the students’ work. A checkbox offers to delete the story too, when it is only used by this workshop.
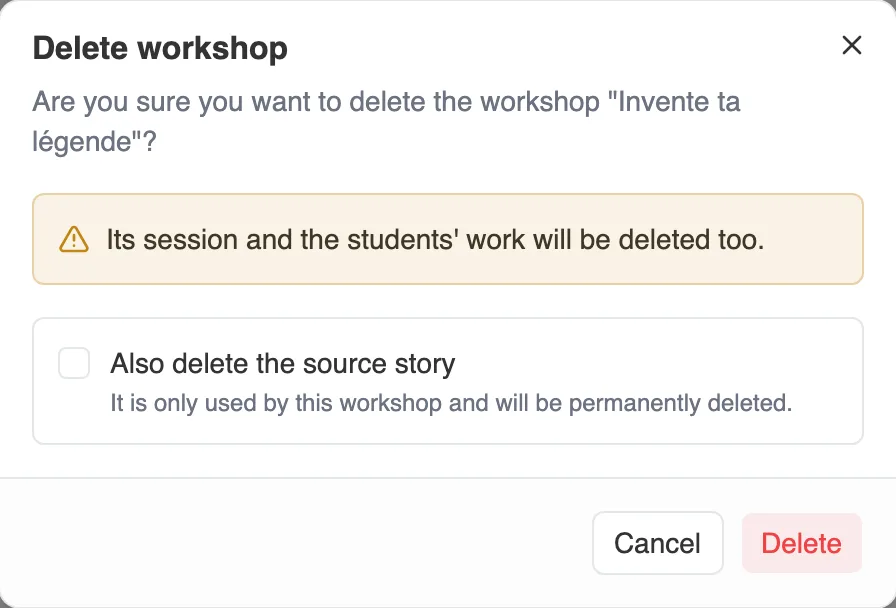
Deleting takes the sessions and the students’ work with it.
Find the workshops built on a story
Section titled “Find the workshops built on a story”The same story can serve several workshops. To know which ones rest on it, the Workshops entry lists them, wherever you started from.
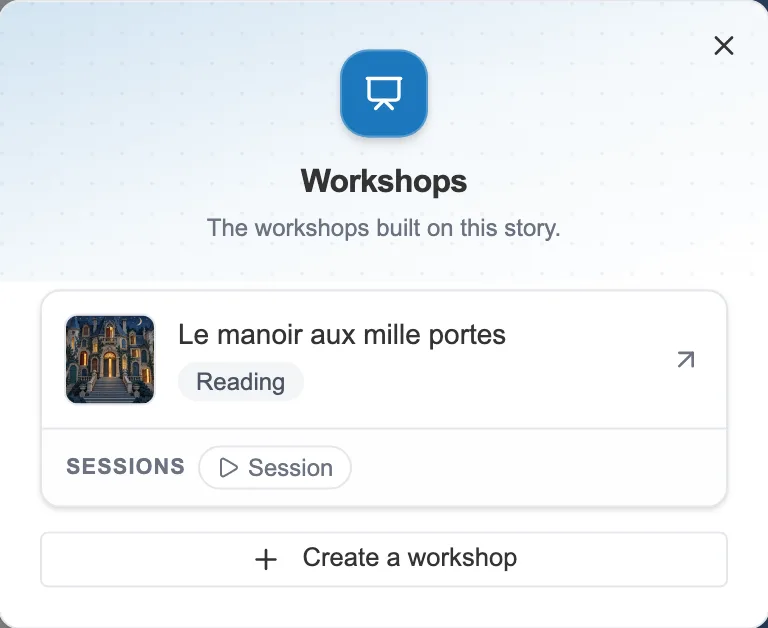
The workshops built on a story, with their sessions.
It opens from two places:
- from the editor’s action bar, when the story is open,
- from the Stories list, through the card’s menu.
Each workshop shows its type and its sessions there, and an arrow takes you to its page. If no workshop uses the story yet, the window offers to create one.