

Managing your classes and students
Your classes and your students are managed from the Roster section of the navigation.
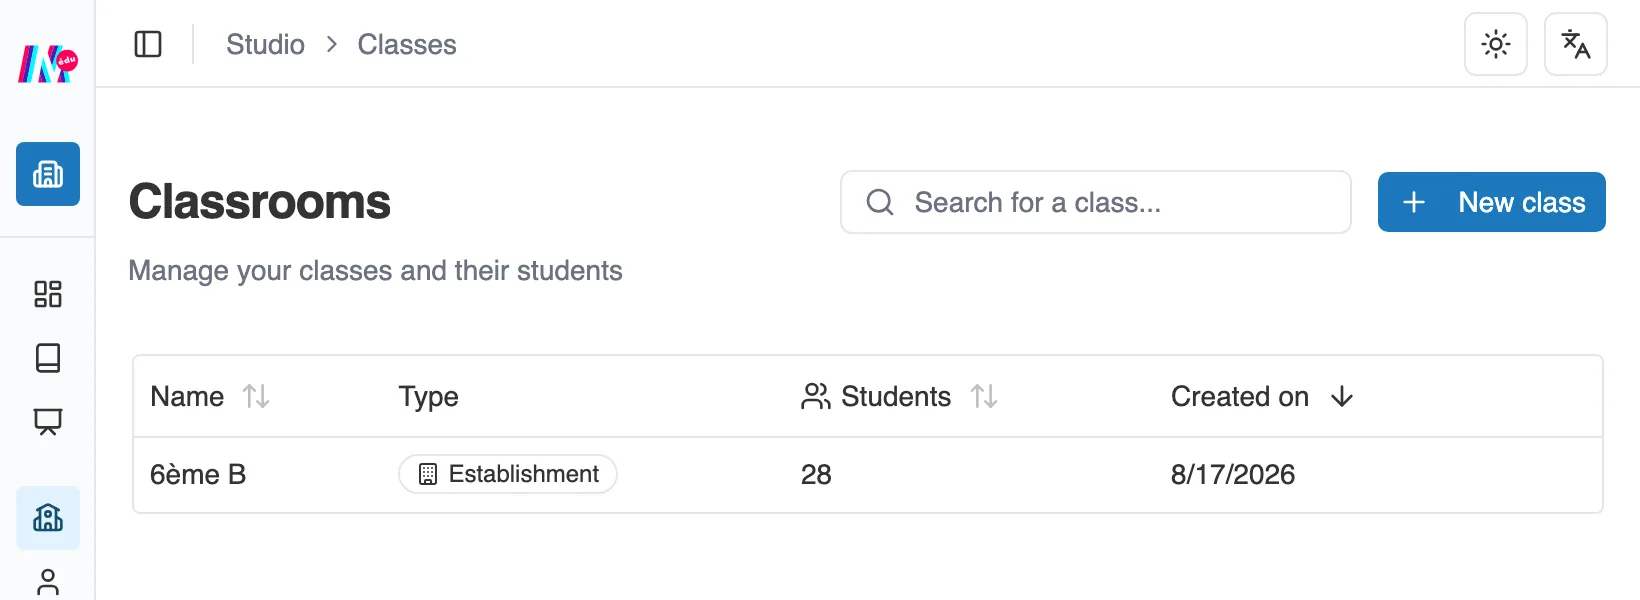
Your classes, each one gathering its students.
Classes
Section titled “Classes”A class brings together the students who will work side by side. It is on a class that you launch your sessions. The Classrooms page lists them, with their type, their size and their creation date.
The type says where the class comes from:
- Establishment: an official class, shared with the whole team.
- Private: a group you created, visible to you alone.
A class’s page
Section titled “A class’s page”Click a class to open its page. It has two tabs: Students and Sessions.
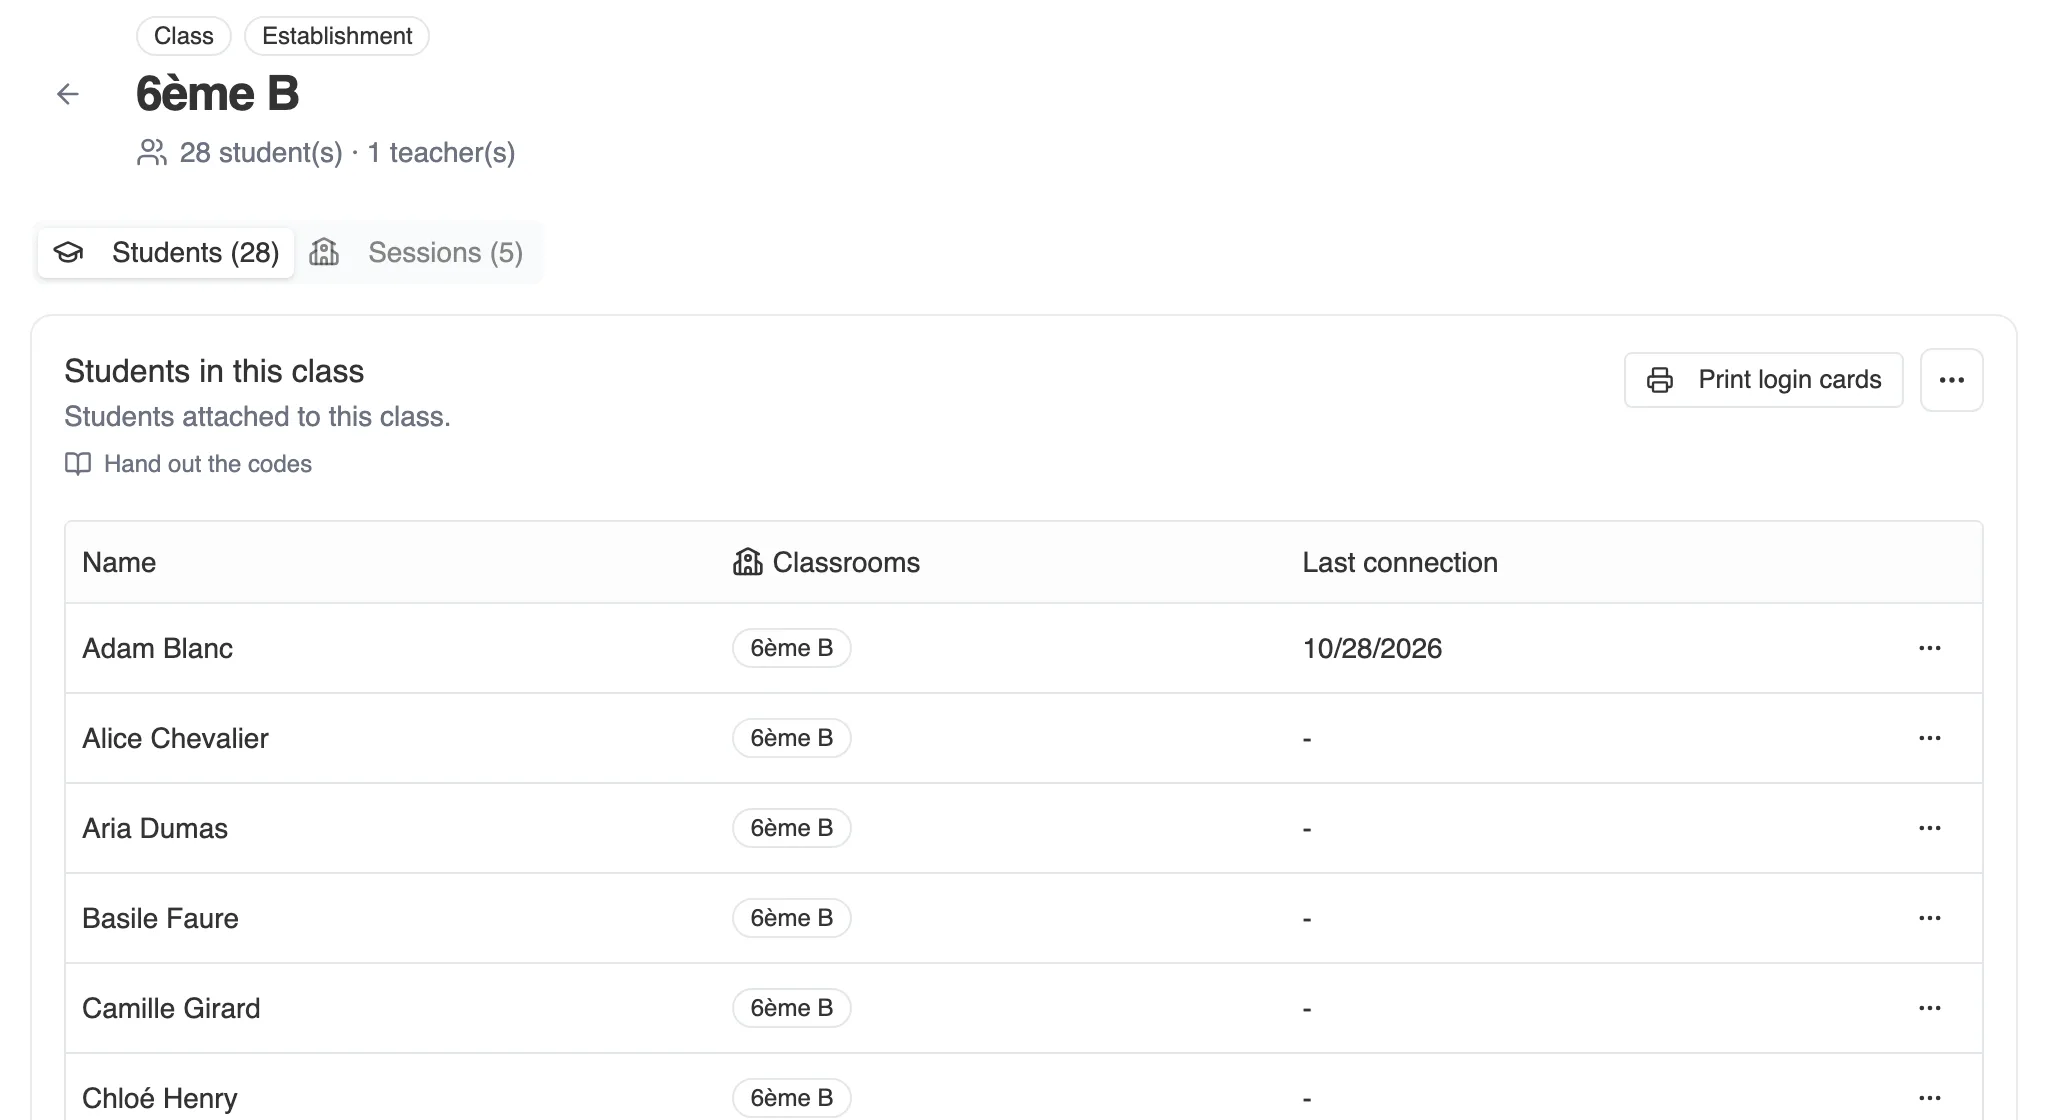
A class’s page, Students tab.
The Students tab lists the students of the class, with their last sign-in. Print login cards prepares the sign-in cards of the whole class. See Your students’ access codes.
The Sessions tab gathers the sessions launched for this class, with direct access to their results.
When the list is yours to manage, meaning a group you created, or an official class if you manage the establishment’s students, two actions are added:
- Add students opens the list of those you can attach, with a search.
- Remove takes a student out of the class. Their account stays active. If it was their last class with you, the window warns you: they will disappear from your lists until you attach them somewhere else.
If you create your students’ accounts yourself (see Adding your students), the Add students window also offers Create a student and Import a list (CSV), with the class already ticked. When you have no students yet, it says so (“You don’t have any students yet.”) and puts Create a student forward. It is the shortest way to fill a class you have just created.
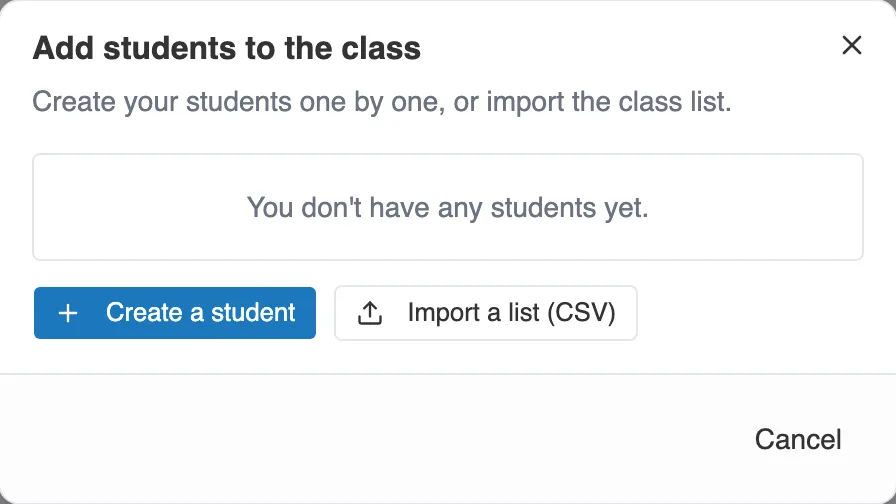
A new class, with no students yet: the window offers to create them.
If you are not the one who creates the accounts, the window reminds you: “Students missing? In a school, the management creates them: ask them to import the students and give you their class.”
Create a class, or a group
Section titled “Create a class, or a group”The New class button asks for a name. What you create depends on your role.
You teach in your personal space. A name is enough. The class is yours, it shows with the Private type, and you are the one who adds your students. Once the class is created, open it and click Add students to create their accounts.
You teach in an establishment. You create a private group: it is yours, your colleagues do not see it. It is the right tool for a club, a support group, a workshop that brings together students from several classes.
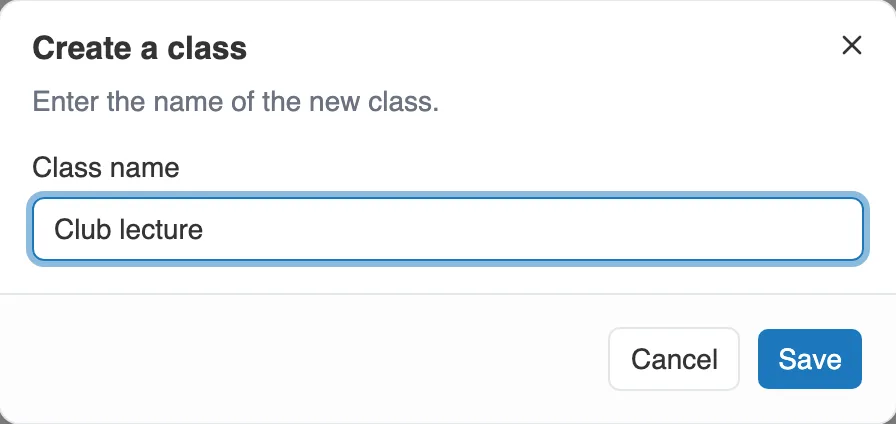
For a teacher, a name is enough: the class created is a private group.
You manage the establishment. The same window also carries an Official class switch. On, the class is shared with the whole team. Off, you create a private group like a teacher does.
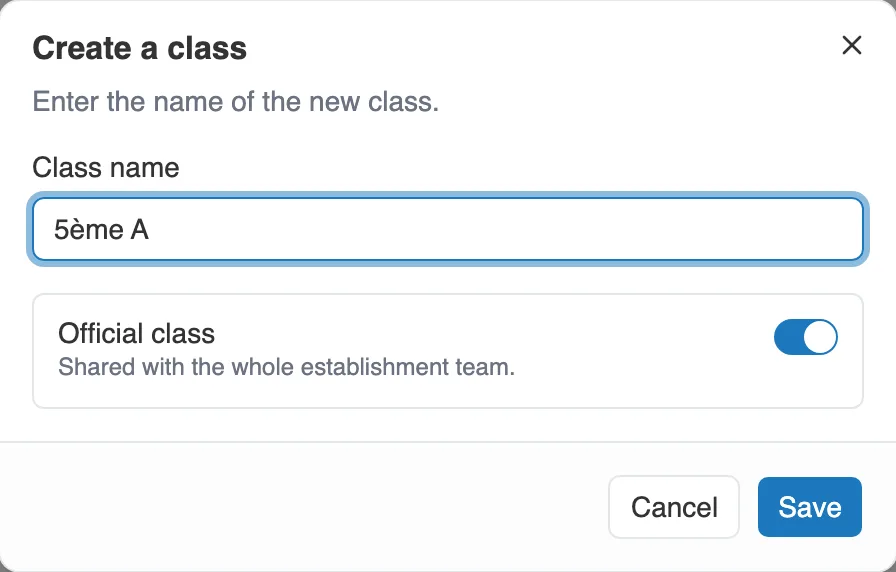
For a manager, the Official class switch decides who will see it.
The number of classes is capped by your plan. When the limit is reached, Moiki tells you at creation time.
A private group, and its entry code
Section titled “A private group, and its entry code”A private group has one more asset: you can bring in students who are not in your classes. You do not see them in your directory, so you cannot add them yourself. They are the ones who come in, with a code.
On the group’s page, under the list of students, the Group entry code block handles it.
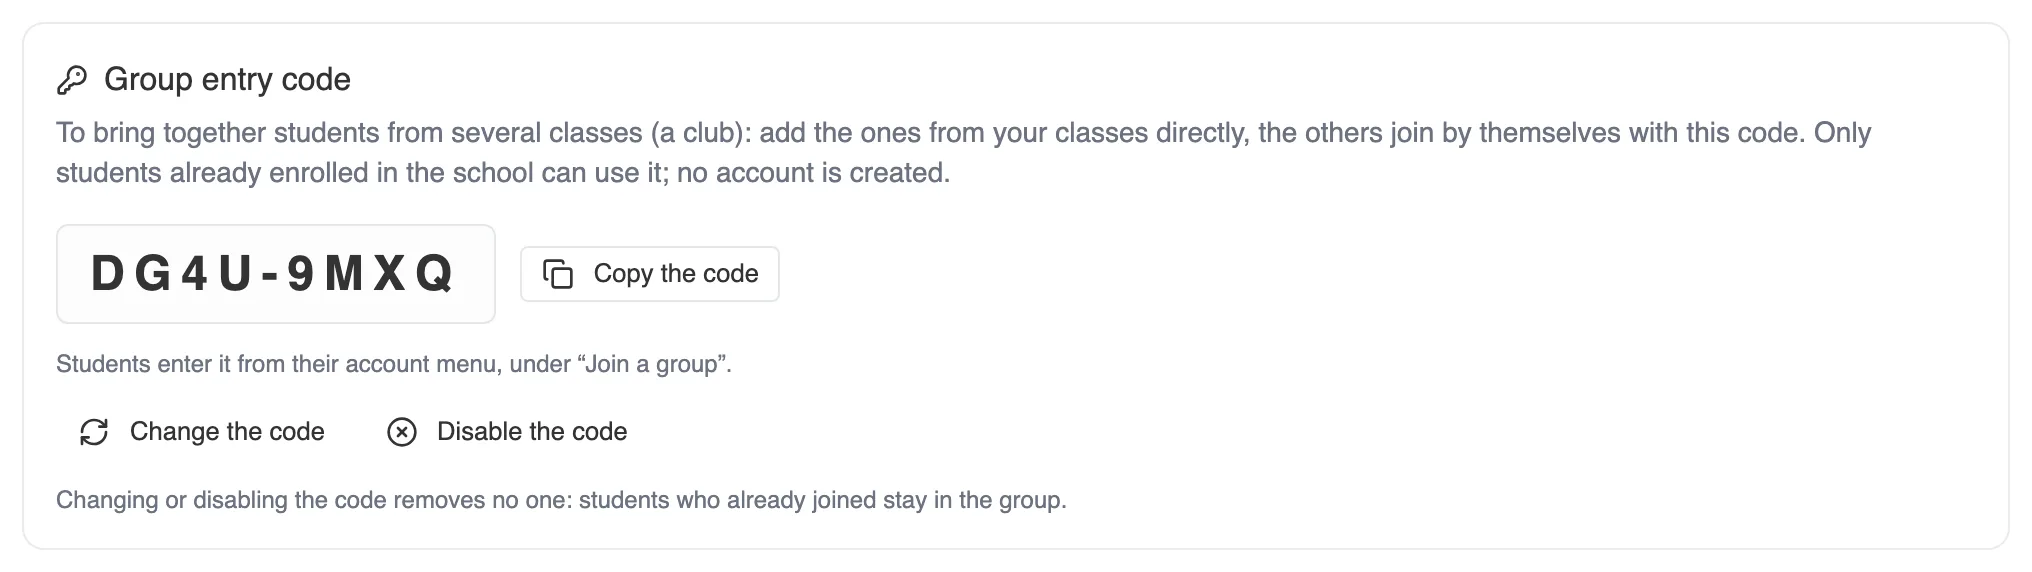
A group’s entry code: eight characters, in two blocks of four.
- Create a code generates one. It has eight characters, written in two blocks of four, without the letters and digits that get mixed up.
- Copy the code puts it on your clipboard, to display it or read it out.
- Change the code generates another one, and the old one stops working.
- Disable the code closes the entrance.
Changing the code or disabling it removes nobody: students who already came in stay in the group.
Two safeguards to know:
- The code creates no account. Only a student already enrolled in your establishment can use it.
- Only a private group has an entry code. An official class is put together from the list of students.
Students type the code from their account menu, in Join a group. See Joining a workshop.
Rename or delete a class
Section titled “Rename or delete a class”In the list of classes, the menu at the end of the row offers Edit, to change the name, and Delete. It appears on your private groups, which you manage yourself. On an official class, it only appears if you manage the classes of the establishment: an owner, a manager, or a teacher who was given that permission.
Deleting a class deletes no student. Their accounts and their stories stay. The confirmation window tells you two things before the click:
- Students who belong to none of your other classes will no longer appear in your lists, until they are attached somewhere else.
- A class that still carries sessions cannot be deleted on its own. A checkbox offers to also delete those sessions: the reading progress and the writing groups then go with them, but the stories already written are kept.
What you see of the establishment
Section titled “What you see of the establishment”If you teach in an establishment, your directory is limited to the students of the classes you run, plus the ones you created yourself. An official class is entrusted to you by the management, from its page. See Entrusting a class to its teachers. Your colleagues’ students do not show up for you, and neither do their reading journeys.
That is deliberate: you find your own without scrolling through the whole establishment, and following a student stays with whoever teaches them.
Adding your students
Section titled “Adding your students”Who creates the accounts depends on your space:
- In your personal space, you do.
- In an establishment, it is a management task: it belongs to the owner, to managers, and to teachers who have been granted that permission. A teacher who has not been granted it does not create students: the management imports them, then gives the teacher their class. See The establishment roster.
Accounts are created from the Students page, or from a class’s page through Add students, in two ways:
- One by one, by entering their first and last name, and ticking their classes in the Classes (optional) field. A teacher in an establishment must pick at least one: the field is then called Classes and the form will not save without it, since a student with no class would appear in none of their lists.
- By importing a CSV file: drop the file in, Moiki reads the columns (first name, last name, class) and creates the missing classes along the way.
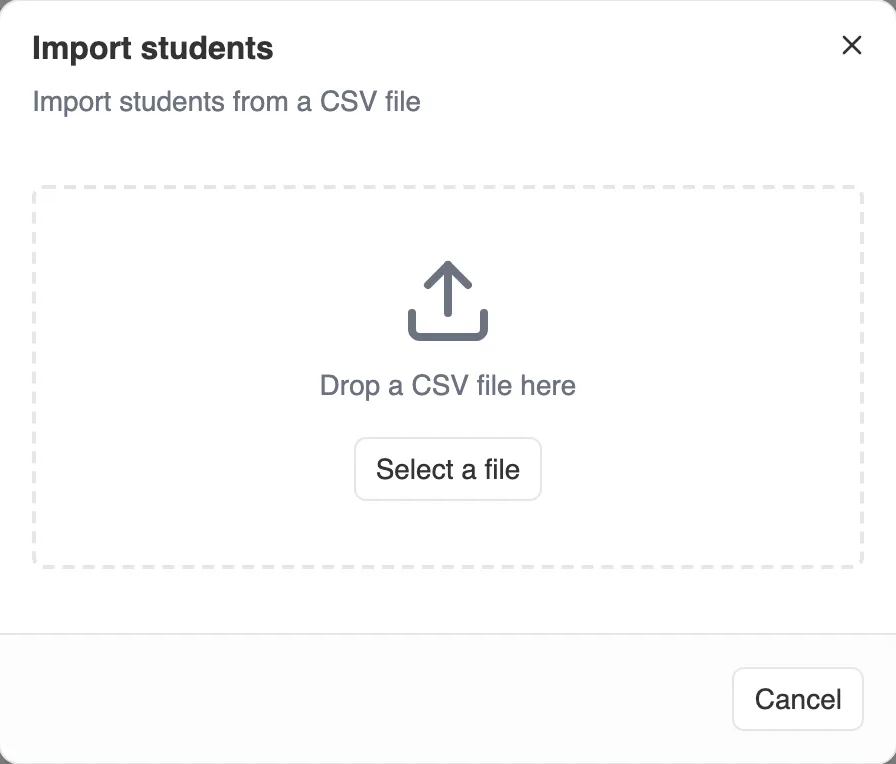
CSV import: drop your file in, Moiki takes care of the rest.
If you do not see the New student button, the list is kept by your management.