

Your first steps
Creating a moiki always starts the same way: a new story, a name, and there you are in the editor. Everything stays editable afterwards.
Create a story
Section titled “Create a story”From the list of your stories, click New story.

The New story button, at the top of your stories.
A wizard opens in two steps: choose a template, then fill in the information.
Choose a template
Section titled “Choose a template”The template gives your story a starting point. The most common one is Blank, a blank page to start from scratch. Others come with a structure already in place: Classic tale, Choice pyramid, Mystery / investigation, Adventure / quest or Narrative hub.
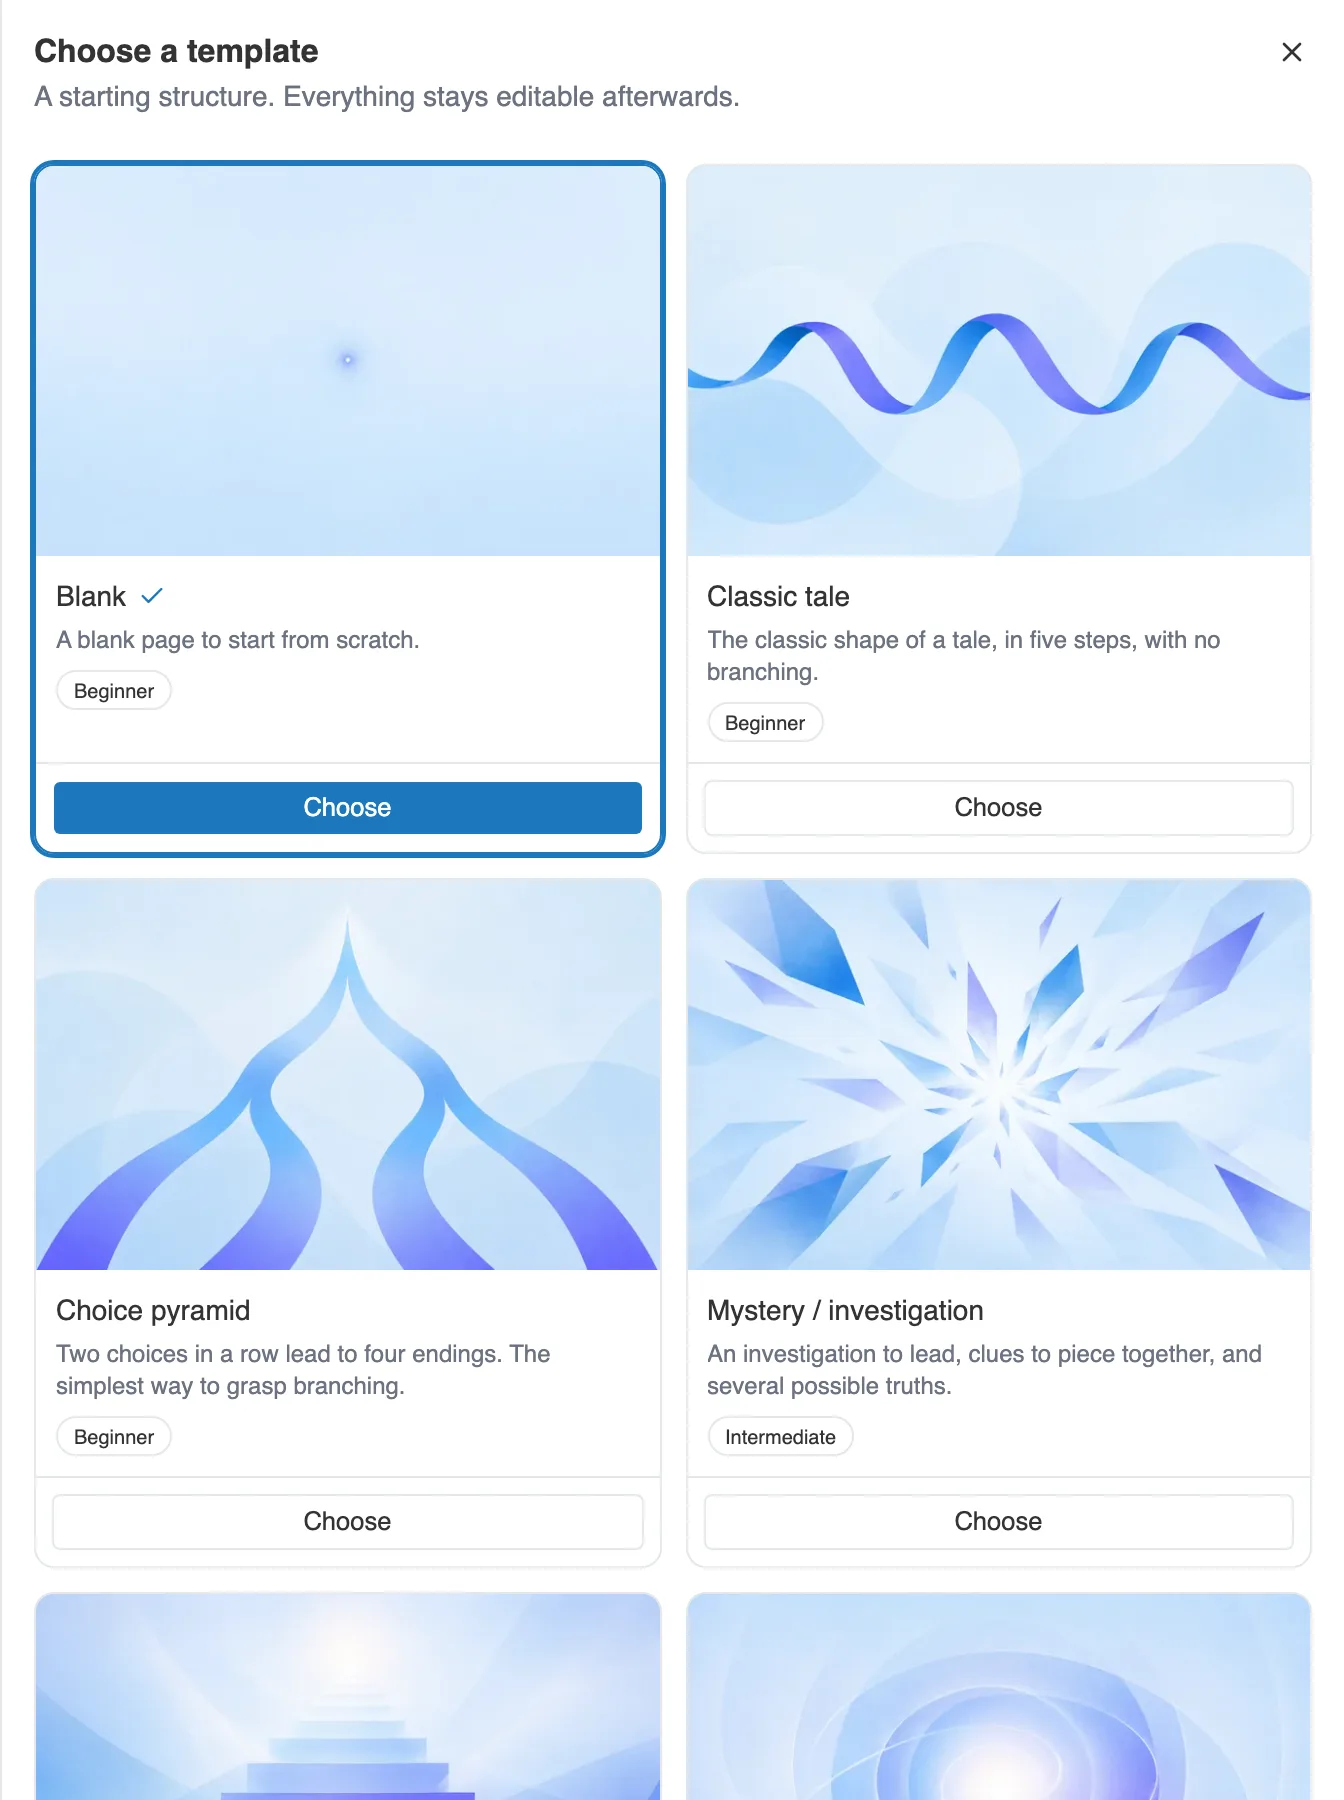
The templates on offer, from the simplest to the most elaborate.
A badge shows the recommended level (Beginner, Intermediate). The choice is not final. A template is only a head start, and you will shape your story the way you want.
Name it and dress it up
Section titled “Name it and dress it up”The second step asks for a Name (the only required field) and, if you want one, a Description. You also pick a Theme, which sets the colors and the mood of the reading.
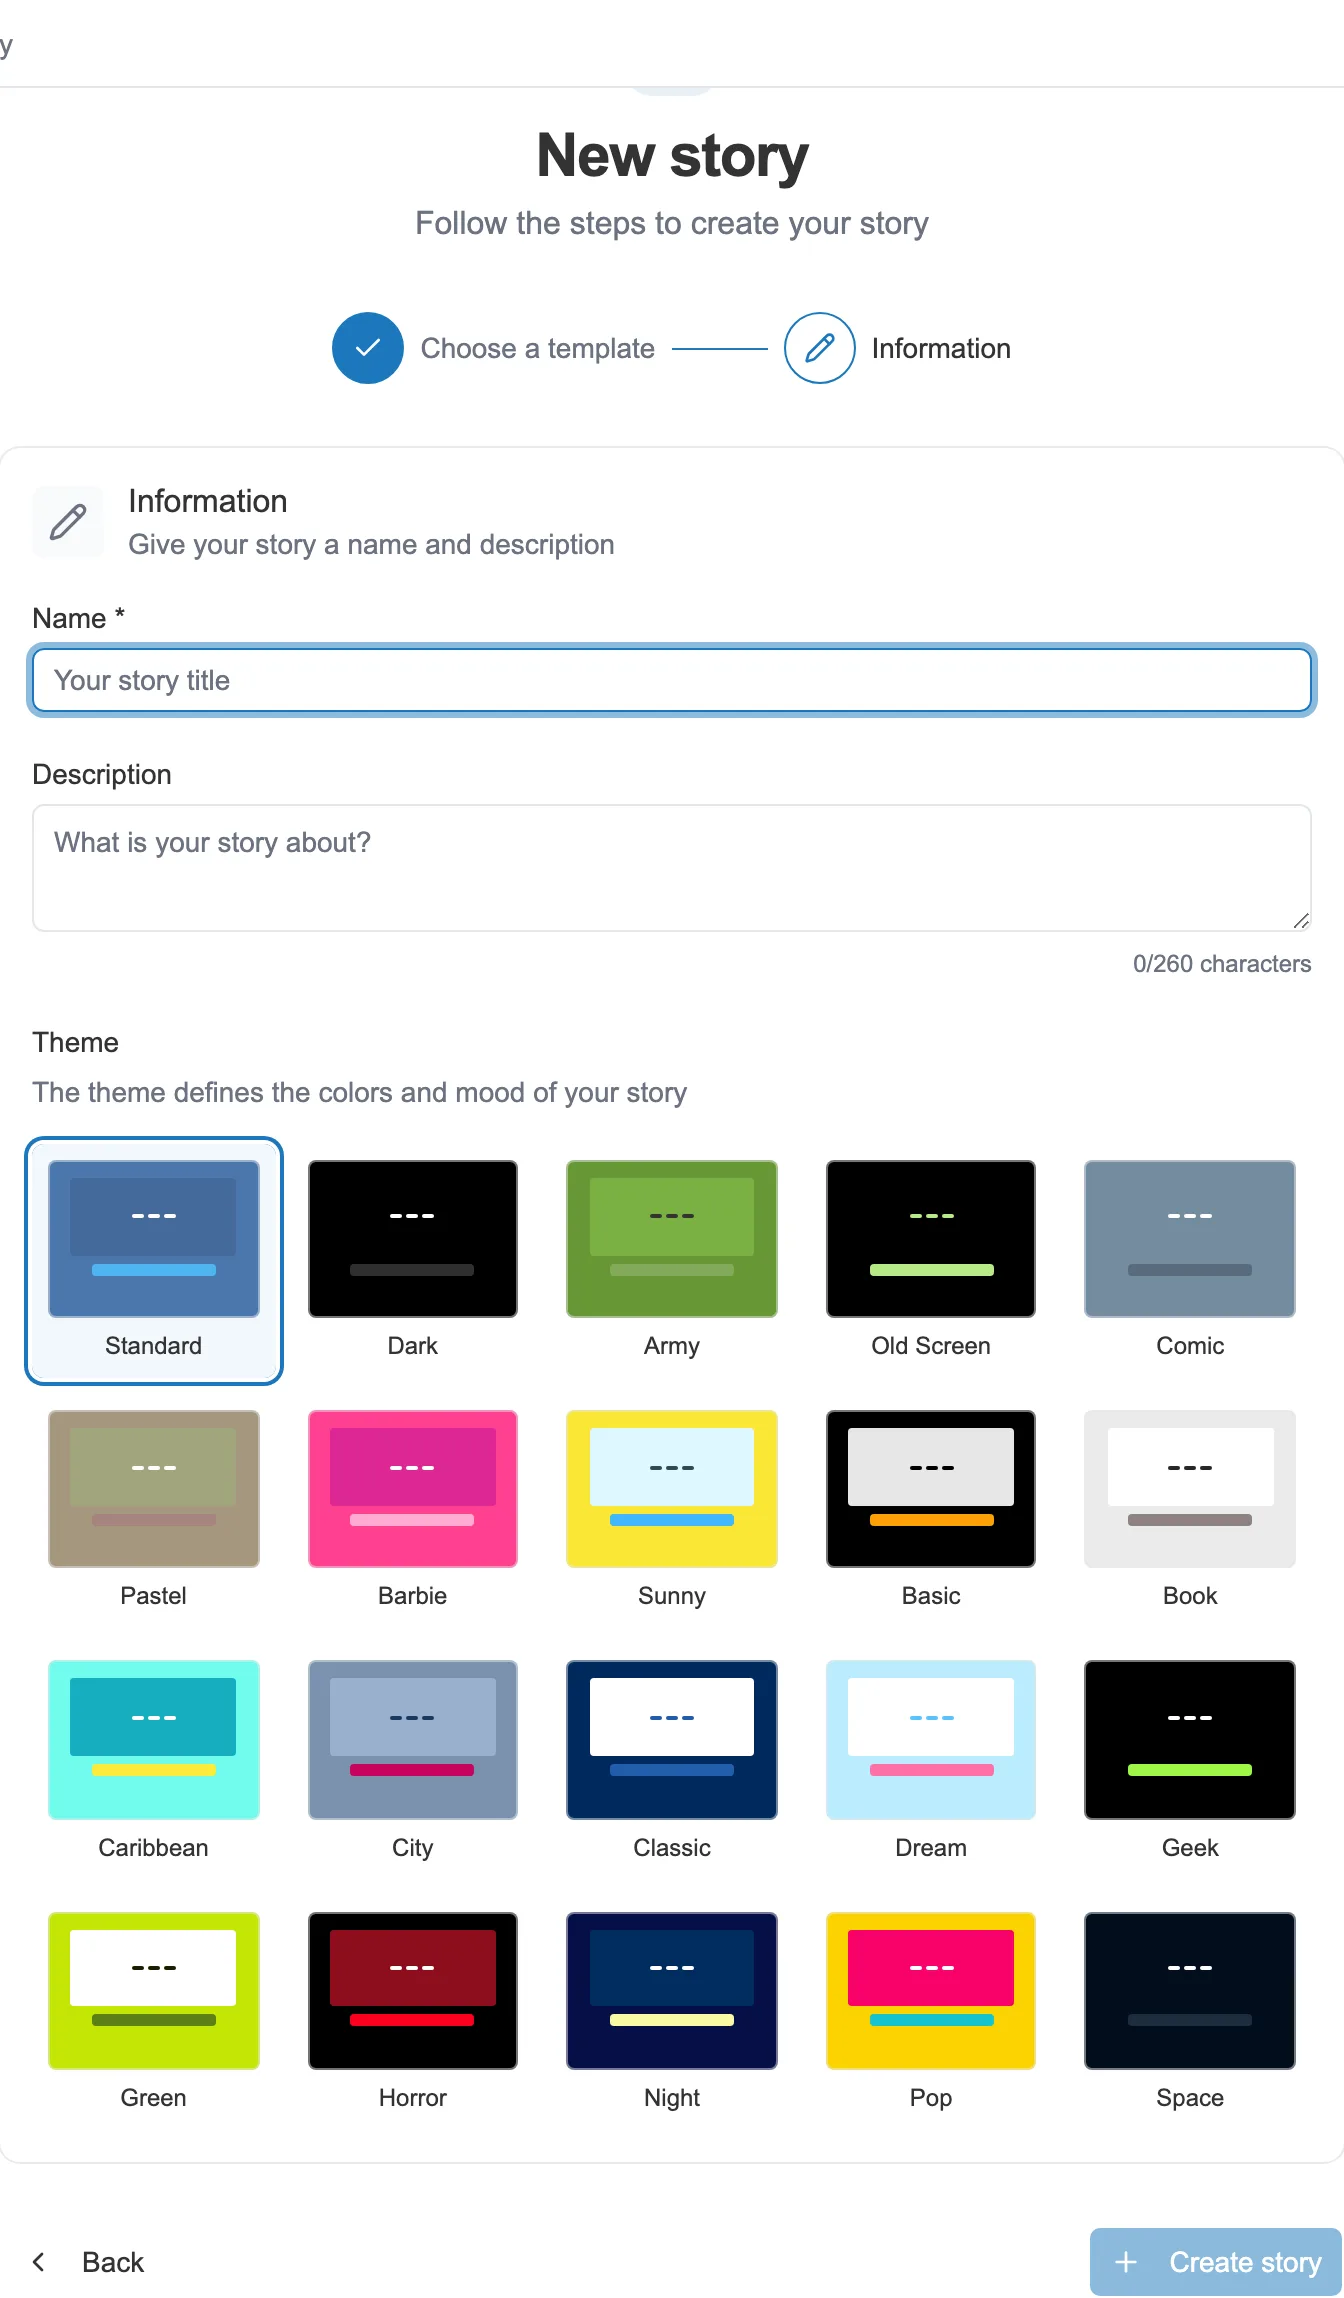
You give the story a name, then choose its theme.
Click Create story to finish.
What comes next
Section titled “What comes next”You land in the editor, on the graph of your story. With the Blank template, a first sequence named Start is waiting for you. It is the starting point of your story.
Everything happens here from now on. To find your bearings, see The editor interface.