

Items and the inventory
An item is something the reader can pick up and keep: a key, a map, a potion. Items are declared in the Items tab, then come into play as the story unfolds.
The tab reads two ways. Overview shows all your items at a glance, as cards or as rows depending on the toggle to the right of the search box. Each card shows the number of places where the item is used.
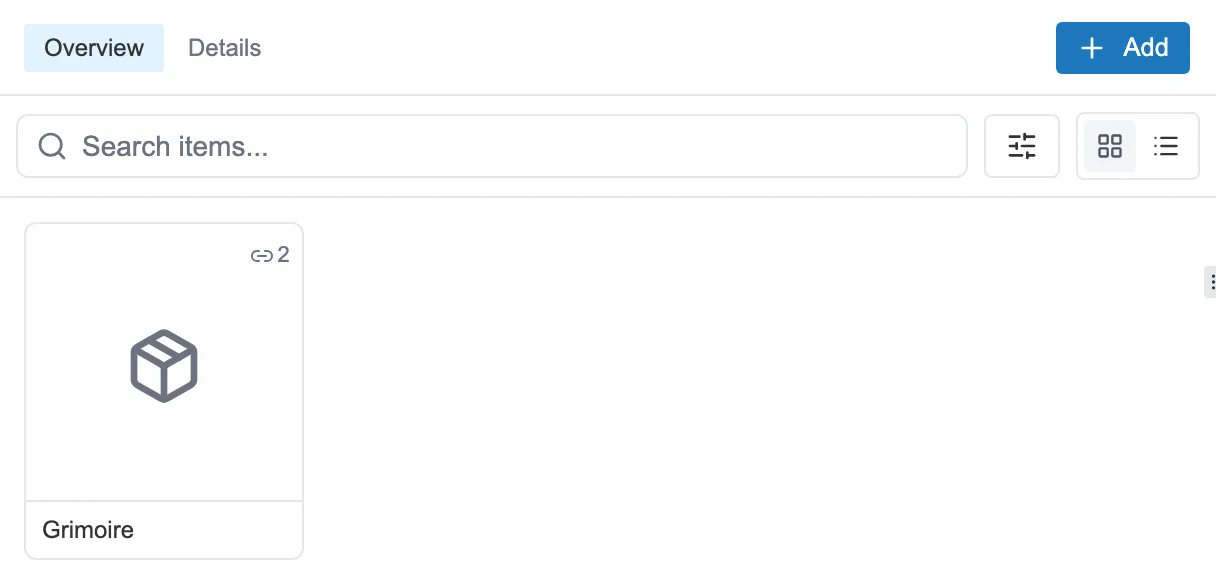
The Items tab, in Overview: your items as cards.
Details opens the stack of item sheets, the ones where you set each item up.
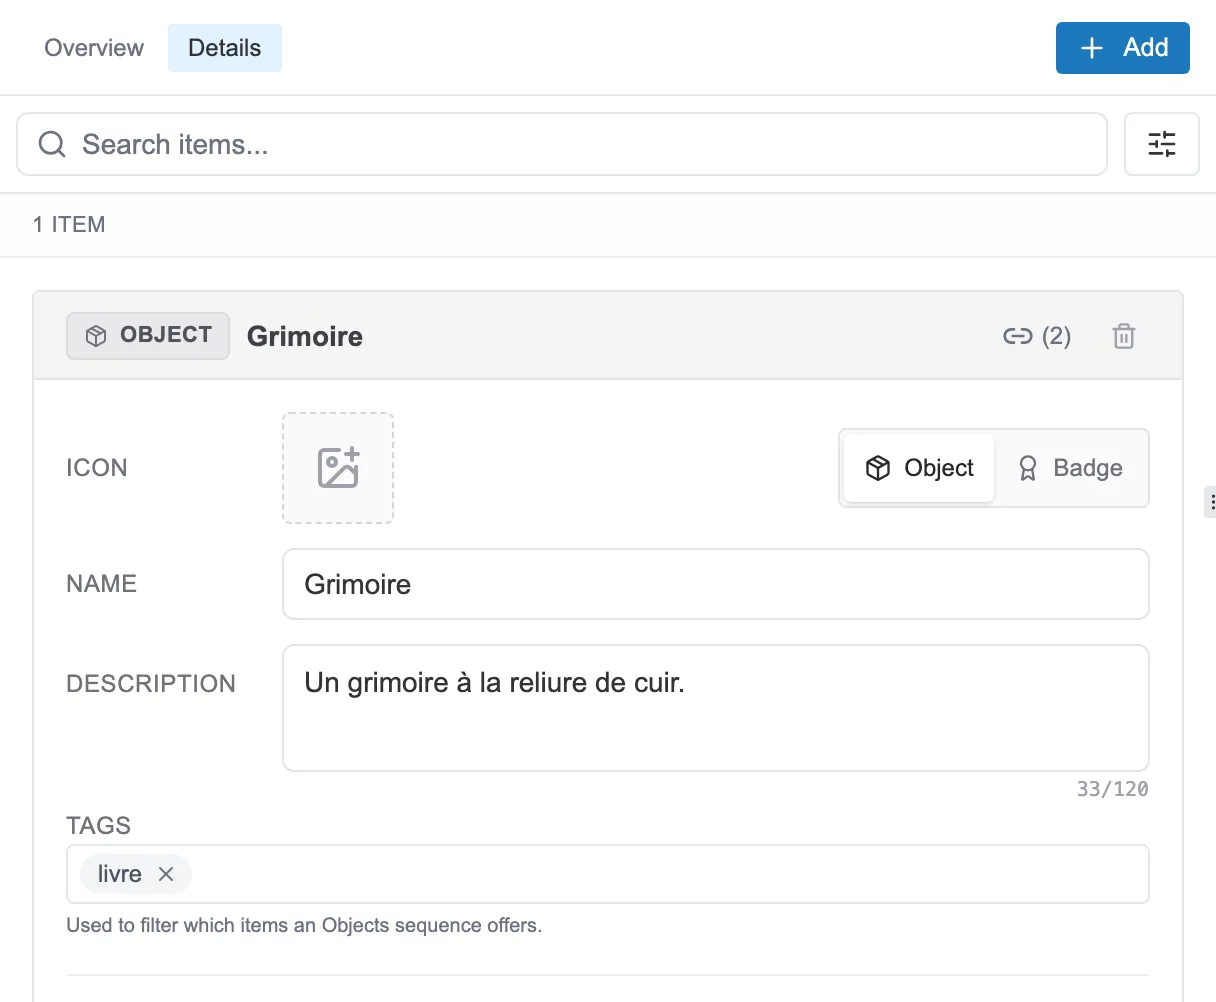
An item sheet: its type, its name, its description and its settings.
Item or badge
Section titled “Item or badge”When you create one, you choose between two natures:
- An item goes into the inventory. The reader can collect several and look through them.
- A badge stays on screen at all times, at the top: a status, a title earned. The reader wears only one at a time, and a new badge replaces the previous one.
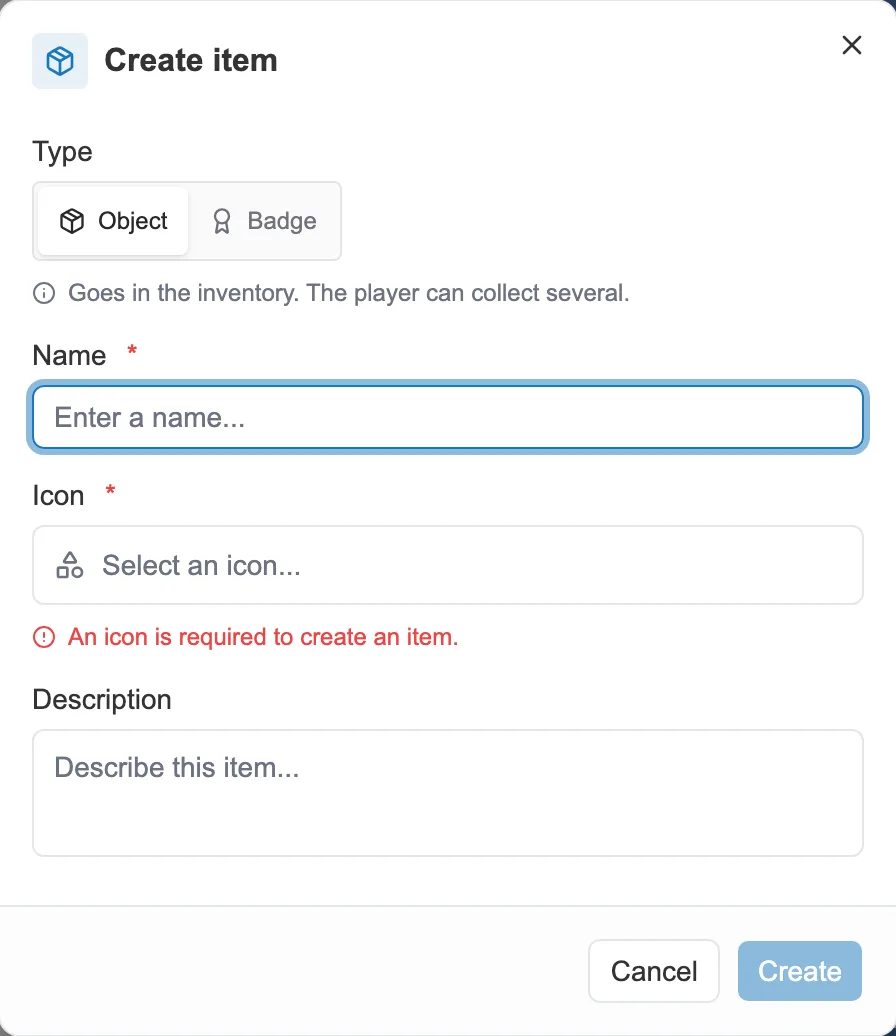
Creating an item: its type, its icon and its name (both required).
The icon comes from the story’s library, or is imported on the spot from the picker. See Icons.
On the sheet, you then set the Gain notification (the small message shown when the item is picked up) and, for an item, whether the reader can own several copies of it.
The sheet also carries a Tags field. A tag is a free label you stick on an item: book, weapon, key. On their own, tags do nothing. They are used to filter what an Object selection sequence offers the reader. See Filter by tags, further down.
How an item comes into play
Section titled “How an item comes into play”Declaring an item does not hand it to the reader. It enters the game through:
- an action that grants or removes it, placed on a choice. See Actions and redirects.
- an Object selection sequence, when it is set to add the item the reader picks to the inventory.
You can then test whether they own it with a condition (“owns the key”). See Conditions.
The Object selection sequence
Section titled “The Object selection sequence”This is the sequence that asks the reader to choose.
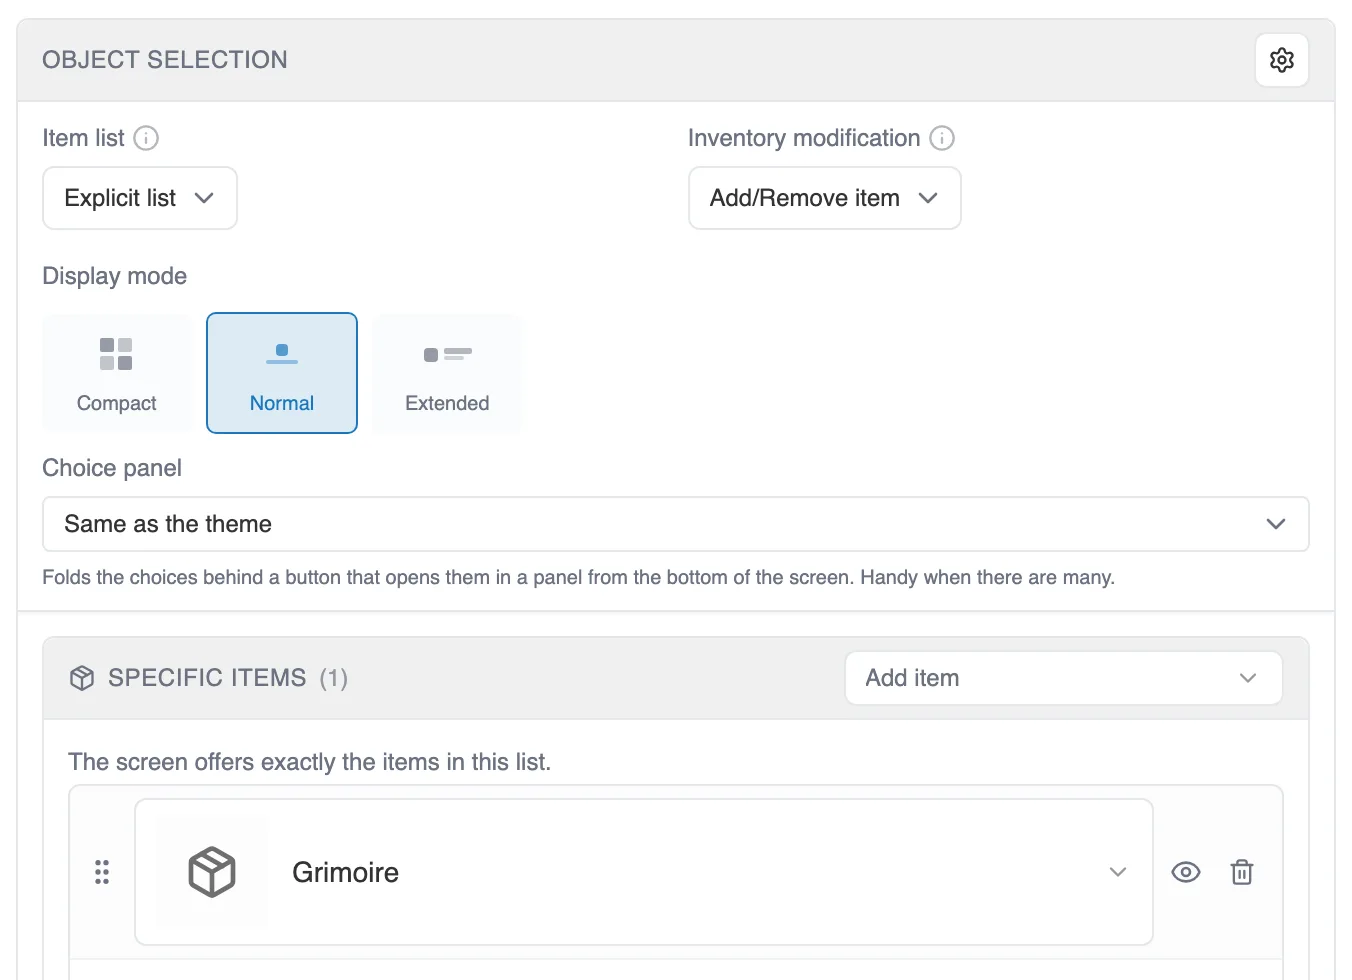
The panel of an Object selection sequence, here in Explicit list.
Its Item list setting decides what the reader is offered:
- Owned items: everything the reader carries at that moment.
- Not owned items: everything they do not carry yet.
- Explicit list: only the items you name.
The setting next to it, Inventory modification, decides what the choice does to the reader’s inventory:
- No modification: picking changes nothing, the item only steers the story.
- Add/Remove item: the picked item enters the inventory if the reader did not have it, and leaves it if they did. On items not owned, the reader helps themselves. On owned items, they give one away.
- Listed items only and Unlisted items only keep that gesture for the items that have their own destination, or for the others.
Display mode sets how items are laid out on screen: Compact, Normal or Extended.
Under those settings, a list of items gives each one its destination: “if they pick the key, go there”. Its role changes with the mode, and so does its title:
- In Explicit list, it is called Specific items, and the screen offers exactly the items of that list. An explicit list starts empty: it is up to you to fill it.
- In the two other modes, it is called Destinations per item. It adds nothing to the screen: it gives a destination to an item the mode already offers. The others leave through Other item.
A line under the title reminds you, in each mode, what the list does.
Two Special connections close the cases you have not named:
- Other item (default) takes any choice that has no destination of its own.
- No items available catches the game where the reader has nothing to choose, so that it does not get stuck. The panel says when that connection is taken: when the reader has no item, when they already own them all, or when a filter or a visibility condition rules them all out.
In Explicit list, those connections only appear when they make sense: as long as nothing can rule your items out, the section stays hidden.
Filter by tags
Section titled “Filter by tags”As soon as at least one item of the story carries a tag, the sequence’s options menu, the cogwheel of the Object selection block, gains a Filter by tags entry.
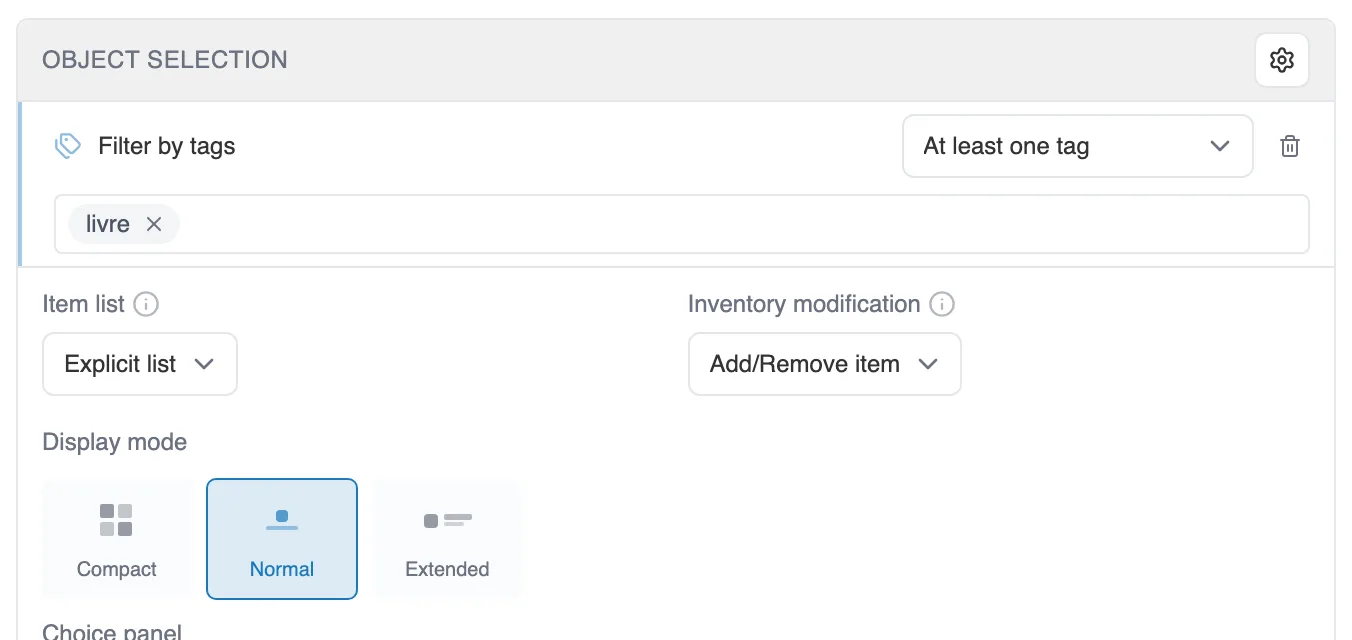
The Filter by tags filter, at the top of the block.
You give it one or more tags, and what the item must carry of them:
- At least one tag: the item is offered if it carries one of the tags.
- All tags: it must carry them all.
- None of these tags: it is offered if it carries none of them.
An item with no tag passes neither “at least one” nor “all”: having no tag is not a free pass.
The same menu offers Add timer, Shuffle items and Allow back. That last option shows a Go back button under the items, which takes the reader back to the previous sequence.
Inventory options
Section titled “Inventory options”An item can also give the reader the initiative. On its sheet, the Inventory options section adds actions that the reader triggers from their inventory, whenever they decide to: drink the potion, check the map, light the lamp. Each option launches an interlude, a short detour that plays out and then hands the story back.
Each option carries a label, the one the reader will read, and the interlude it triggers. You can set three at most per item.
An option also accepts a condition for showing it, built with the same picker as the one used for choices. The action then appears on the item sheet only when the condition is met: the lamp only lights up once the matches have been found.
See Interludes and chapters to compose the interlude itself, and The inventory and items for what the reader sees of it.