

The editor interface
Once the story is created, you work in the editor. The screen looks busy at first, but it is built around a few simple zones, always in the same place.
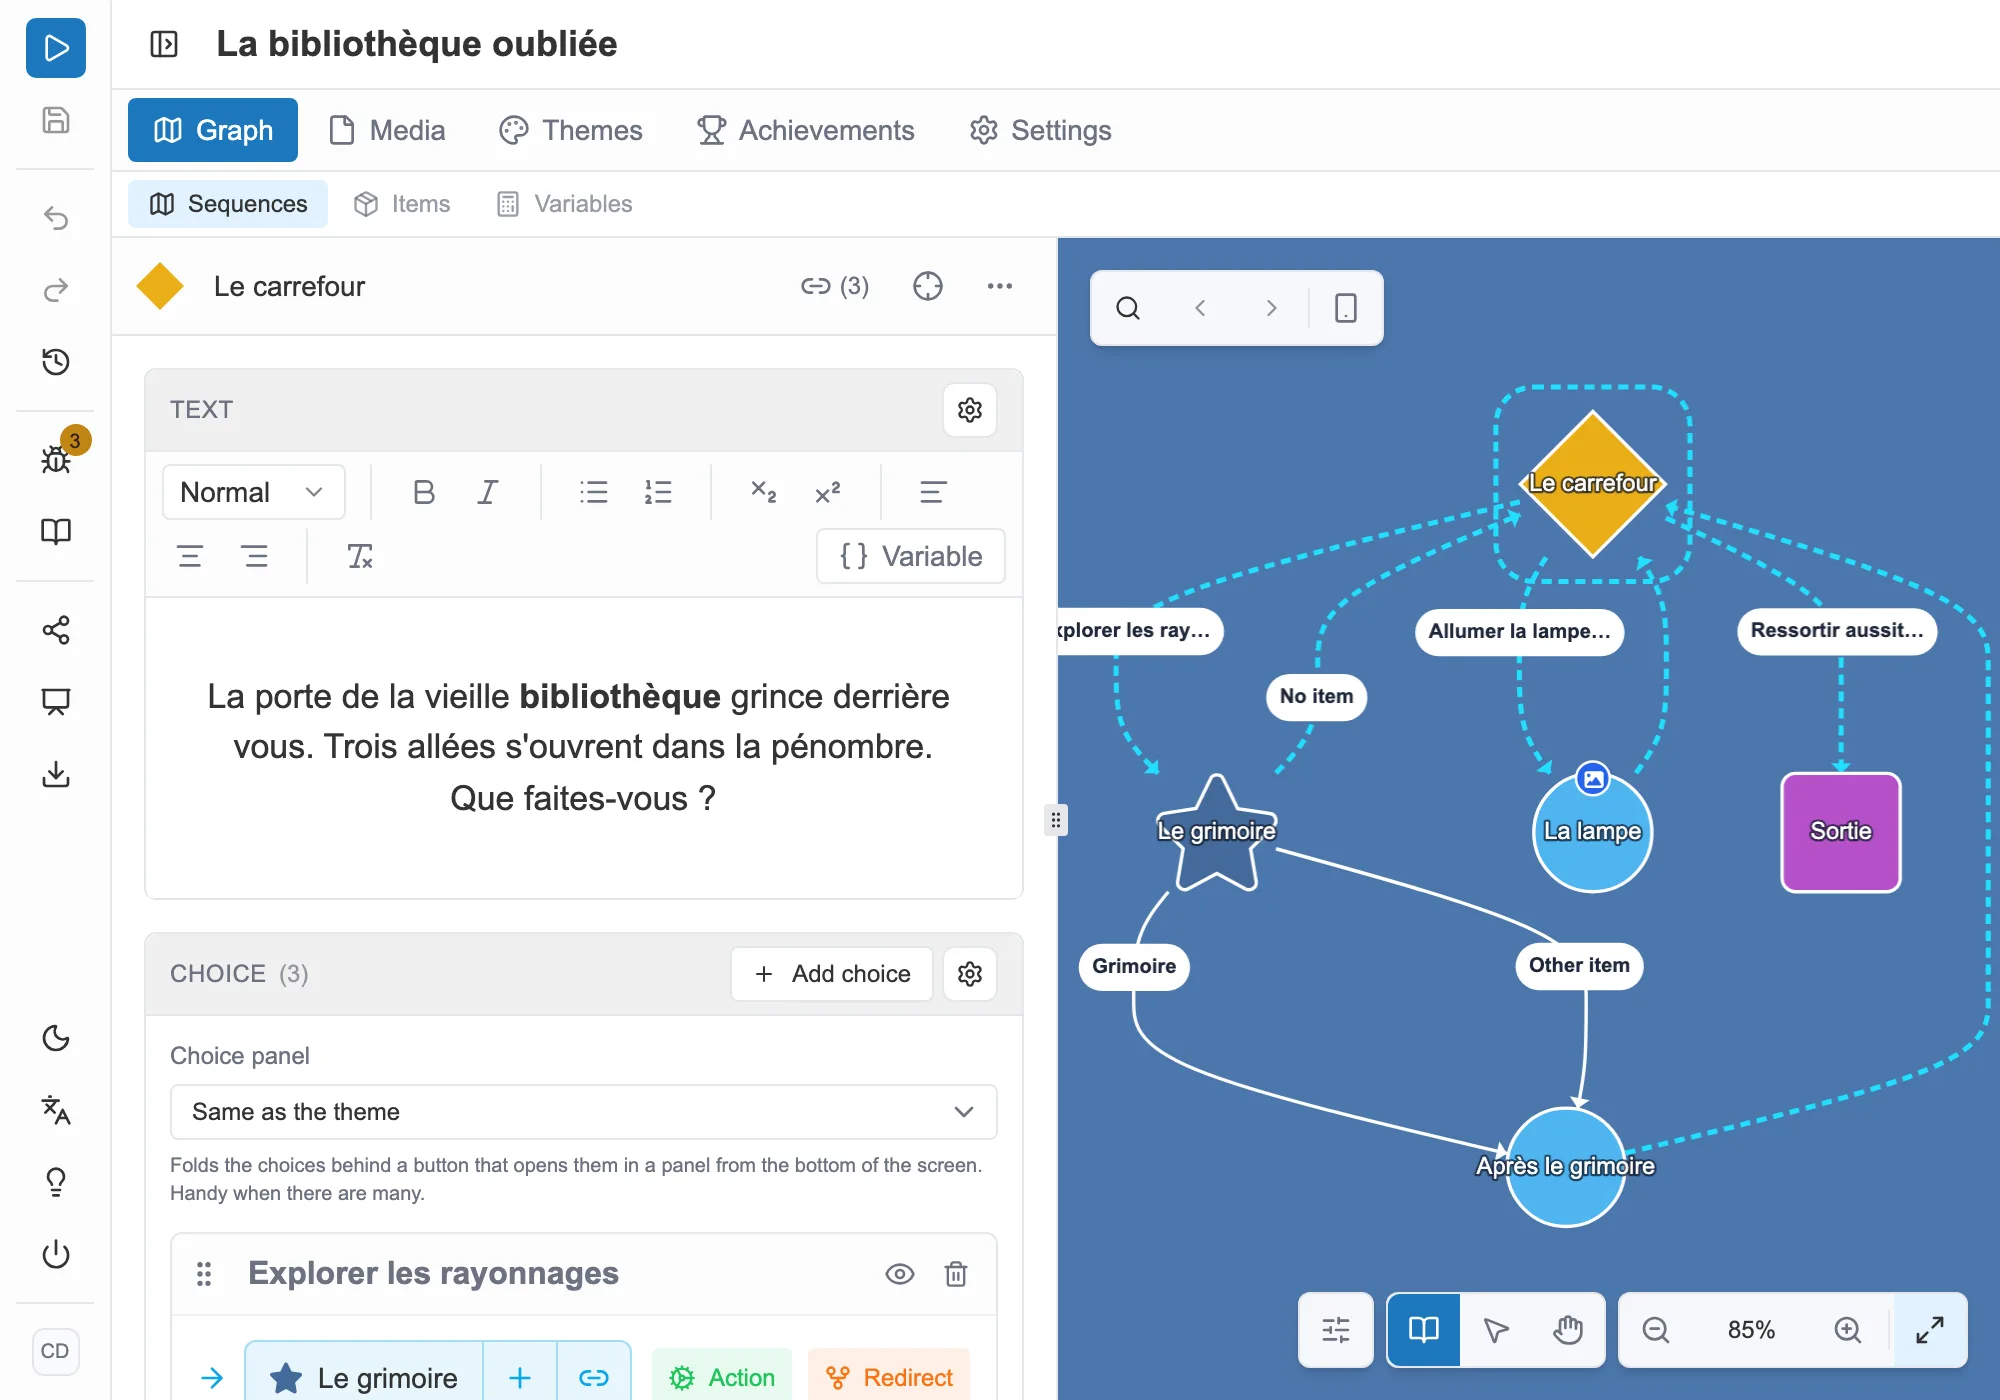
The main zones of the editor: the action bar on the left, the tabs, the editing panel in the middle and the graph on the right.
The action bar
Section titled “The action bar”On the far left, a vertical bar gathers the actions that affect the whole story.
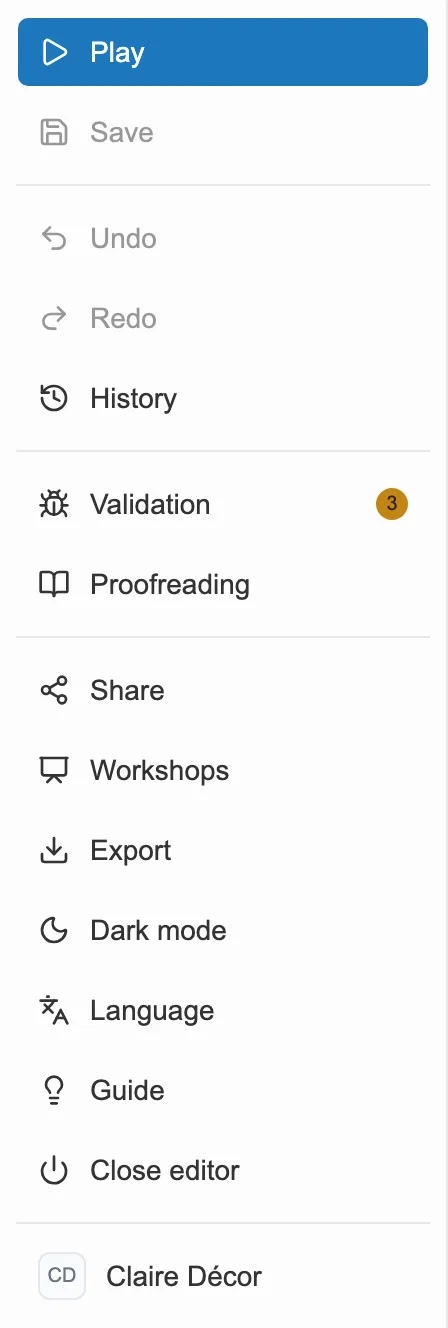
The action bar, expanded to show every label.
You will find there, among others:
- Play to test your story the way a reader sees it.
- Save, Undo and Redo to manage your changes.
- Validation and Proofreading to catch what you left out before publishing.
- Share and Export to get your work out there.
At the bottom of the bar, you switch Dark mode on and off, change the Language of the editor, open the Guide, or close the editor.
With Moiki EDU, a Workshops entry is added between Share and Export, on the stories you are the author of. See Create and fill in a workshop.
Switching from one facet to another
Section titled “Switching from one facet to another”Under the story title, a first row of tabs opens the main facets: the Graph, the Media, the Themes, the Achievements, the Settings. Depending on your story, other tabs show up.
A second row, specific to the graph, gives access to what your story contains: the Sequences, the Items and the Variables. Other tabs join them depending on how your story is set up, such as the Events in expert mode.
A tab can also disappear. Media goes away when your story contains none and adding them is not open to you, which happens to a student whose teacher has closed that tool. See A writing workshop.
The graph and the editing panel
Section titled “The graph and the editing panel”The right-hand side shows the graph: the map of your story, where every sequence is a node. This is your work plan. See The graph.
As soon as you select a sequence, its editing panel opens on the left. That is where you write its text, set its choices and add its media.